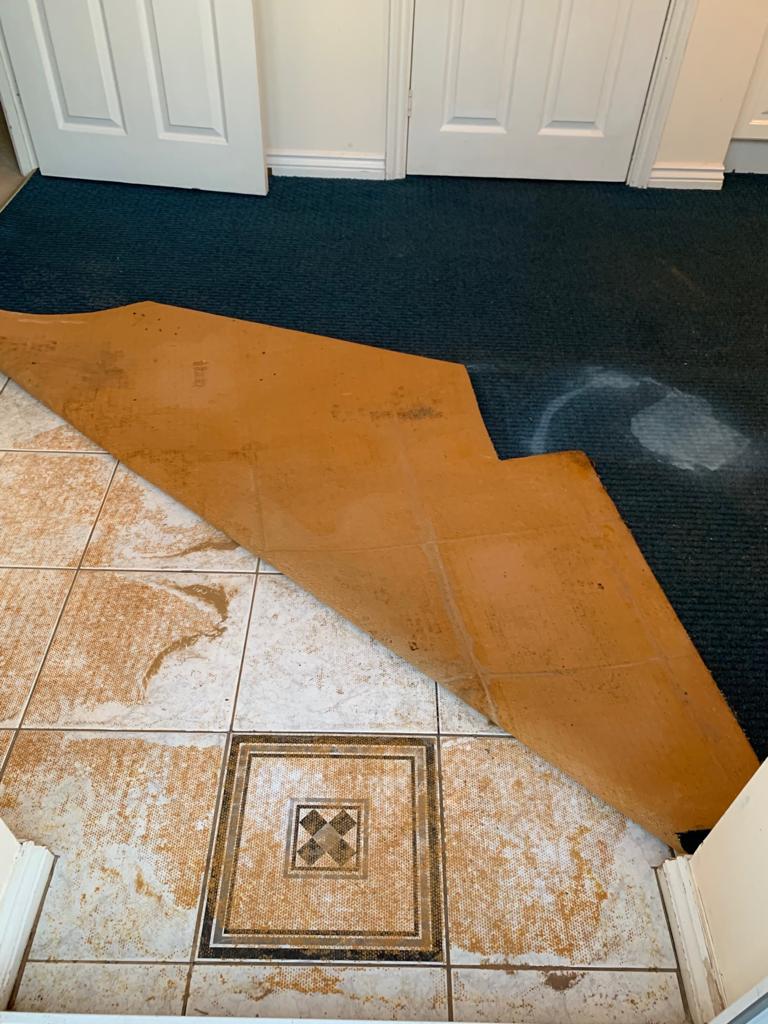
Have you ever stared at a stubborn patch of tile adhesive on your floor, wondering how you’ll ever get it off? You’re not alone. Tile adhesive, while effective for its purpose, can be a royal pain to remove. It seems to stick to everything, defying all your attempts to pry it loose. But fear not, fellow DIY enthusiast! This guide is here to help you tackle this sticky situation with confidence and a clean floor to show for it.

Image: www.youtube.com
Removing tile adhesive may seem daunting, but with the right tools and techniques, it can be a manageable project. The key is choosing the right method for your specific type of adhesive and flooring. Whether you’re dealing with stubborn remnants of old tile or a recent miscalculation, this comprehensive guide will equip you with the knowledge and practical steps needed to remove tile adhesive effectively and safely.
Understanding Tile Adhesive: A Sticky Situation
Before we dive into the best ways to remove tile adhesive, let’s first understand what we’re up against. Tile adhesive, also known as thinset mortar, is a cement-based paste that acts as a strong bond between tiles and the underlying surface. It’s designed to be durable and long-lasting, which is precisely why removing it can be such a challenge.
The composition of tile adhesive plays a significant role in its removal difficulty. Many adhesives contain a combination of cement, sand, polymers, and additives that create a tough, rigid bond. Depending on the type of adhesive used, its composition can influence the best approach for removal.
The Ultimate Guide to Tile Adhesive Removal: Tools and Techniques
Now, let’s get down to business and explore the most effective ways to tackle that tile adhesive:
1. The Power of Patience: Scraping and Chipping
For stubborn adhesive remnants, sometimes the best approach is a good old-fashioned scrape. A scraper helps to loosen and chip away the adhesive, making it easier to remove.
Tools:
- Putty Knife: A versatile tool ideal for scraping away thin layers of adhesive.
- Chisel and Hammer: These are perfect for tackling thicker adhesive layers.
- Safety Glasses: Always protect your eyes when working with sharp tools.
Process:
- Preparation: Wear protective gear and wear old clothes.
- Scrape: Use the scraper or chisel to chip away the hardened adhesive, working in small sections.
- Patience: Be persistent, but avoid excessive force which might damage the floor.
- Clean Up: Use a vacuum to collect debris and a damp cloth to wipe up any remaining adhesive residue.

Image: adhesivesandchemicals.com
2. Chemical Solutions: Dissolving the Problem
When scraping alone isn’t enough, chemical solutions can be a powerful ally in removing tile adhesive.
Tools:
- Chemical Adhesive Remover: Choose a product specifically designed for removing tile adhesive, following the manufacturer’s instructions.
- Paintbrush: Apply the remover evenly with a paintbrush.
- Gloves and Mask: Protect your skin and lungs from fumes.
- Ventilated Area: Work in a well-ventilated area.
Process:
- Preparation: Wear safety gear and work in a well-ventilated area.
- Application: Apply the remover liberally to the adhesive, saturating the area.
- Dwell Time: Allow the remover to sit for the recommended time (usually 10 – 15 minutes) to work its magic.
- Removal: Once the adhesive has softened, use a scraper or putty knife to remove the loosened bits.
- Clean Up: Rinse the area with water and allow it to dry completely.
3. The Heat Treatment: Softening Up the Adhesive
For stubborn adhesive, applying heat can soften it, making it easier to remove.
Tools:
- Heat Gun: Aim the heat gun at the adhesive, working in small sections.
- Gloves: Protect your hands from the heat.
- Scraper: Use a scraper to remove the softened adhesive.
Process:
- Preparation: Wear safety gear and use the heat gun responsibly.
- Heating: Direct the heat gun at the adhesive, working in small sections to prevent overheating and damaging the floor.
- Scraping: Once the adhesive softens, use a scraper to remove it.
- Clean Up: Use a vacuum to collect debris and a damp cloth to wipe away any remaining residue.
4. Floor-Specific Considerations: Preserving Your Surfaces
Each flooring type has its unique characteristics, so choosing the right removal method is crucial.
Hardwood:
- Avoid harsh chemicals and excessive heat.
- Use a scraper or chisel with caution.
- Test a hidden area first to ensure compatibility.
Laminate:
- Use a scraper or chisel to gently remove adhesive.
- Test a hidden area before applying any chemicals.
- Avoid using heat guns, as they can damage the laminate.
Tile:
- Use a scraper or chisel to remove adhesive.
- Be careful to avoid damaging the surrounding tiles.
- If using chemical removers, thoroughly rinse the area afterward to avoid staining.
Expert Insights: Pro Tips for Successful Removal
Here’s what the experts have to say about removing tile adhesive:
-
Prevention is Key: If you’re planning a tiling project, use masking tape or a barrier to prevent adhesive from getting on adjacent areas. This will save you a lot of headache down the line.
-
Start Small: Always test a hidden area of your floor with your chosen method to see how it reacts before embarking on the entire floor. This will help you avoid unpleasant surprises and potential damage.
-
Safety First: Wear protective gear like safety glasses, gloves, and a mask, especially if you’re working with chemical removers or heat.
Best Way To Remove Tile Adhesive From Floor
Conclusion: A Pristine Floor Awaits
Removing tile adhesive can be a challenging but rewarding task. With the right tools, techniques, and a little patience, you can overcome even the stickiest situations and reveal a clean, pristine floor beneath.
Remember, always prioritize safety and choose the appropriate method for your specific flooring type. And don’t forget to give yourself a pat on the back after conquering that adhesive! You’ve earned it.


