Imagine walking into your dream kitchen, a sprawling expanse of gleaming tiles reflecting the morning sunlight. But then your gaze falls upon the floor, a subtle unevenness marring the perfection, a constant reminder of a job not quite done right. That’s where leveling your floor comes in – a crucial, often overlooked step that transforms your tile project from good to great.

Image: www.reddit.com
Leveling your floor isn’t just about aesthetics. It’s the foundation for a durable, long-lasting tile installation. Uneven floors can lead to cracked tiles, grout lines that crumble, and a wobbly floor that feels unstable underfoot. But with the right approach and a bit of know-how, even a novice can achieve a flawlessly level surface, ready for the tiles of their dreams.
Understanding the Why and How of Floor Leveling
Before diving into the specifics, let’s understand the “why” behind floor leveling. Tile is notorious for revealing imperfections in a substrate. Even a seemingly minor bump or dip will become painfully obvious when you lay down those beautiful tiles.
Think of it this way: Imagine a perfectly flat canvas. Now imagine attempting to paint a perfect portrait on a canvas that dips and curves – nearly impossible, right? The same concept applies to tiling. You need a level foundation for those tiles to adhere properly and create a seamless, visually appealing surface.
The Best Way to Level Your Floor for Tile
There isn’t one single “best” way to level a floor, as the approach will depend on the extent of the unevenness and the materials you’re dealing with. Here are the most common methods:
1. Self-Leveling Concrete Overlay
This is considered the gold standard for leveling floors, especially when dealing with significant unevenness. Self-leveling concrete is a mixture of cement, aggregates, and chemical additives that flow easily and self-level to create a smooth, even surface.
Here’s a step-by-step breakdown:
- Prepare the Subfloor: Clean the subfloor thoroughly and remove any loose debris, dust, or dirt. You might need to patch any cracks or holes with concrete patching compound.
- Apply a Bonding Primer: A primer helps the self-leveling compound adhere properly to the subfloor.
- Mix the Compound: Carefully follow the manufacturer’s instructions when mixing the self-leveling compound.
- Pour and Spread: Pour the compound onto the subfloor and use a trowel to spread it evenly, working quickly before it begins to set.
- Level and Smooth: Use a level or straight edge to check for evenness and smooth out any inconsistencies as needed.
- Cure Time: Allow the compound to cure completely according to the manufacturer’s instructions, typically around 24 hours.
2. Thin-Set Mortar
For smaller unevenness, thin-set mortar can be a viable solution. Thin-set mortar is a cement-based adhesive that’s often used to install tiles. You can use it to fill in minor gaps and level out subtle unevenness in your floor.
Here’s how to use thin-set mortar for leveling:
- Prepare the Subfloor: Clean and patch the subfloor as described above.
- Apply a Bonding Primer: Ensure a strong bond between the mortar and the subfloor.
- Spread the Mortar: Use a notched trowel to spread a thin layer of mortar, working it into the cracks and dips.
- Use a Straight Edge: Check for levelness with a level or straight edge and adjust the mortar accordingly.
- Cure Time: Allow the mortar to cure completely before proceeding with your tile installation.
3. Shims and Underlayment
If your subfloor is wood, you may be able to level it out using shims and underlayment. Shims are thin, often wooden wedges, used to raise a subfloor to the desired height. Underlayment, such as plywood or foam, provides a smooth, stable base for your tile.
Here’s how to use shims and underlayment:
- Locate Unevenness: Identify any areas where the floor is uneven and measure the height difference.
- Install Shims: Position the shims under the subfloor in the low areas to bring it up to level.
- Add Underlayment: Install underlayment over the shimmed areas, creating a smooth and continuous surface.
- Secure the Underlayment: Fasten the underlayment to the subfloor using screws or nails for a secure bond.
4. Floor Leveling Compound
For more extensive leveling needs, you can also consider using a floor leveling compound. This is a specially formulated material that fills in gaps and creates a perfectly smooth surface.
Here’s a breakdown:
- Prepare the Subfloor: Clean and patch the subfloor as described previously.
- Apply the Compound: Spread the compound evenly across the subfloor using a trowel.
- Use a Straight Edge: Level the compound using a long straightedge, ensuring a smooth and consistent surface.
- Cure Time: Allow the compound to cure completely before installing tiles.
Expert Insights and Actionable Tips
- Professional Guidance: For challenging situations, consider seeking professional help. A skilled contractor can provide customized solutions and ensure a perfect level floor.
- Use the Right Tools: Invest in durable, accurate tools like a level, straight edge, and a trowel, specifically for your project.
- Follow Manufacturer Instructions: Each leveling product has its own unique properties and guidelines. Always adhere to the manufacturer’s recommendations for mixing, application, and curing time.
- Test Before Application: Test a small area with the leveling compound before applying it to the entire floor. This will allow you to perfect your technique and troubleshoot any potential issues.
- Patience is Key: Leveling your floor takes time, especially when dealing with large areas. Be patient and allow the compound or mortar to cure fully before proceeding with your tile installation.
Conclusion
Leveling your floor is a critical step in achieving a stunning tile installation. With the right approach and careful execution, you can create a flawlessly level surface that will enhance the beauty and longevity of your tile project. Remember, a well-leveled floor is the foundation for a tile installation that will bring you joy for years to come. So, gather your tools, roll up your sleeves, and get ready to take your tile project to the next level!

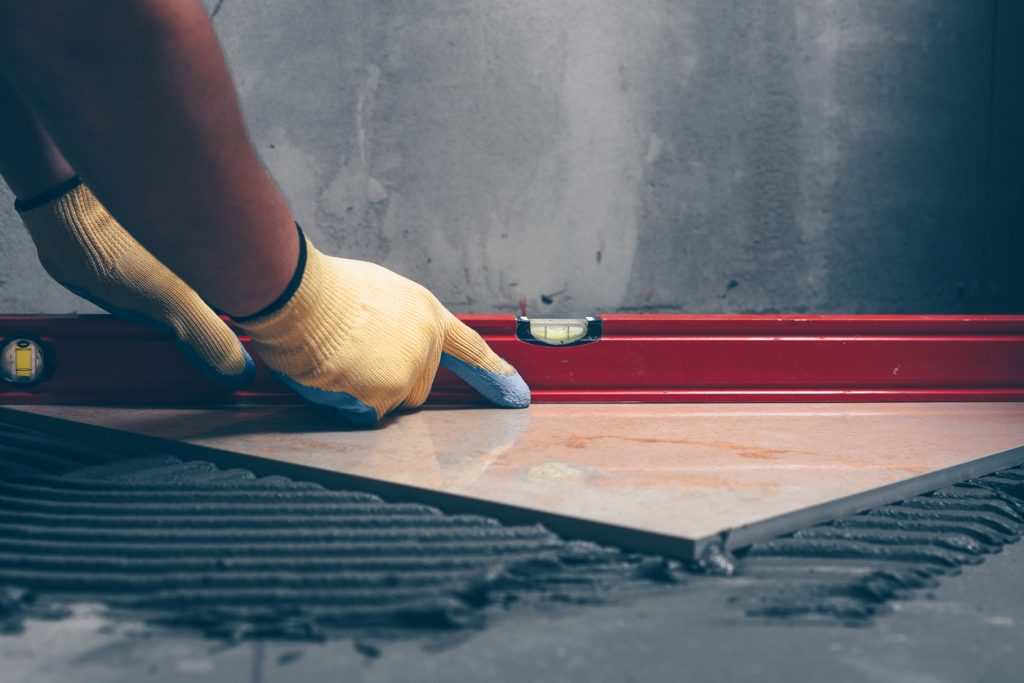
Image: www.tileandstoneonline.co.uk
Best Way To Level Floor For Tile


