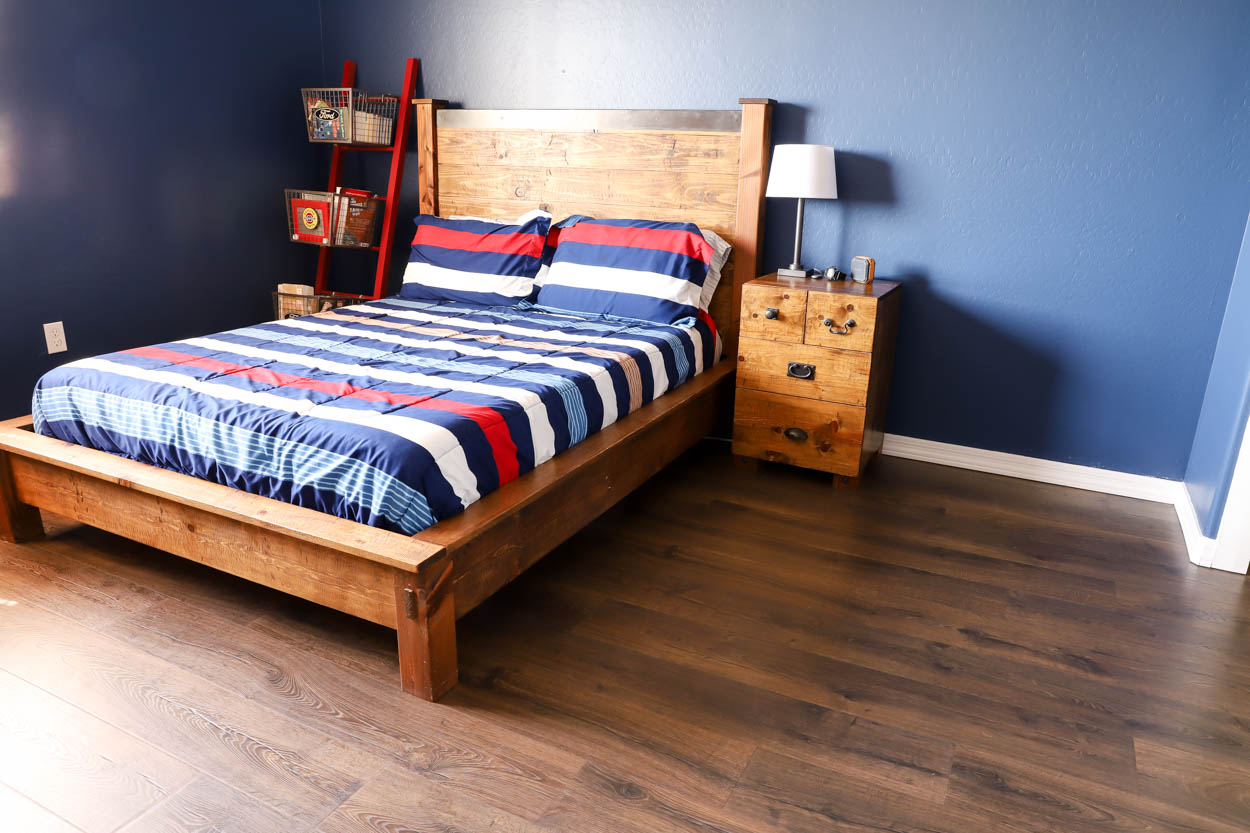
Have you ever walked into a hotel room and been mesmerized by the sleek, modern look of the laminate flooring? Maybe you’ve admired the warmth and comfort it brings to a space, knowing it’s tough enough to withstand the constant wear and tear of a bustling family home. If you’ve dreamt of achieving that same stylish and durable finish in your bedroom, you’re not alone. Many homeowners are choosing laminate flooring for its beauty, affordability, and ease of maintenance. But laying it yourself might seem daunting, right? Fear not! In this comprehensive guide, we’ll break down the process step-by-step, making it a DIY project even you can conquer.

Image: viewfloor.co
Imagine waking up each morning to a beautiful, modern floor that adds a touch of luxury to your personal sanctuary. Whether you’re a seasoned DIY enthusiast or a first-timer, this guide will equip you with the knowledge and confidence to transform your bedroom floor into something you’ll truly love.
Getting Started: Preparing Your Bedroom for Laminate Flooring
Before diving into the installation process, let’s prepare the playing field! This step is crucial for a successful and long-lasting laminate floor. We’ll be removing the old flooring, leveling the subfloor, and creating a clean, even surface for your new laminate planks.
-
Removing the Existing Flooring: The first order of business is removing the old flooring. This process will vary depending on the type of flooring you’re replacing. If you have carpet, pull back the baseboards and remove the staples or tack strips securing the carpet to the subfloor. For tiles, you’ll need a chisel and hammer, but remember to be careful not to damage the subfloor. For hardwood flooring, it might be best to consult a professional for proper removal techniques.
-
Subfloor Inspection and Leveling: Once the old flooring is gone, take a close look at the subfloor. Look for any unevenness, cracks, or gaps. Leveling is essential! For smaller unevenness, you can use a self-leveling compound to fill in the gaps. Larger issues require a more permanent solution, like replacing damaged subfloor planks.
-
Moisture Barrier: Especially in humid climates or basements, a moisture barrier is essential. It serves as a protective layer against moisture that can damage laminate flooring. You can use a plastic sheeting or a specialized moisture barrier membrane, ensuring any seams overlap by at least 6 inches.
Installing the Underlayment: A Foundation for a Durable Floor
Now that we have a clean and level subfloor, it’s time to add the underlayment. This layer provides a buffer between the subfloor and the laminate planks, reducing noise, creating a more comfortable feel, and preventing moisture from reaching the laminate.
-
Choosing the Right Underlayment: The type of underlayment you choose depends on your needs and budget. A basic foam underlayment is cost-effective and offers decent sound insulation. If you want maximum noise reduction, consider a thicker underlayment with a built-in moisture barrier.
-
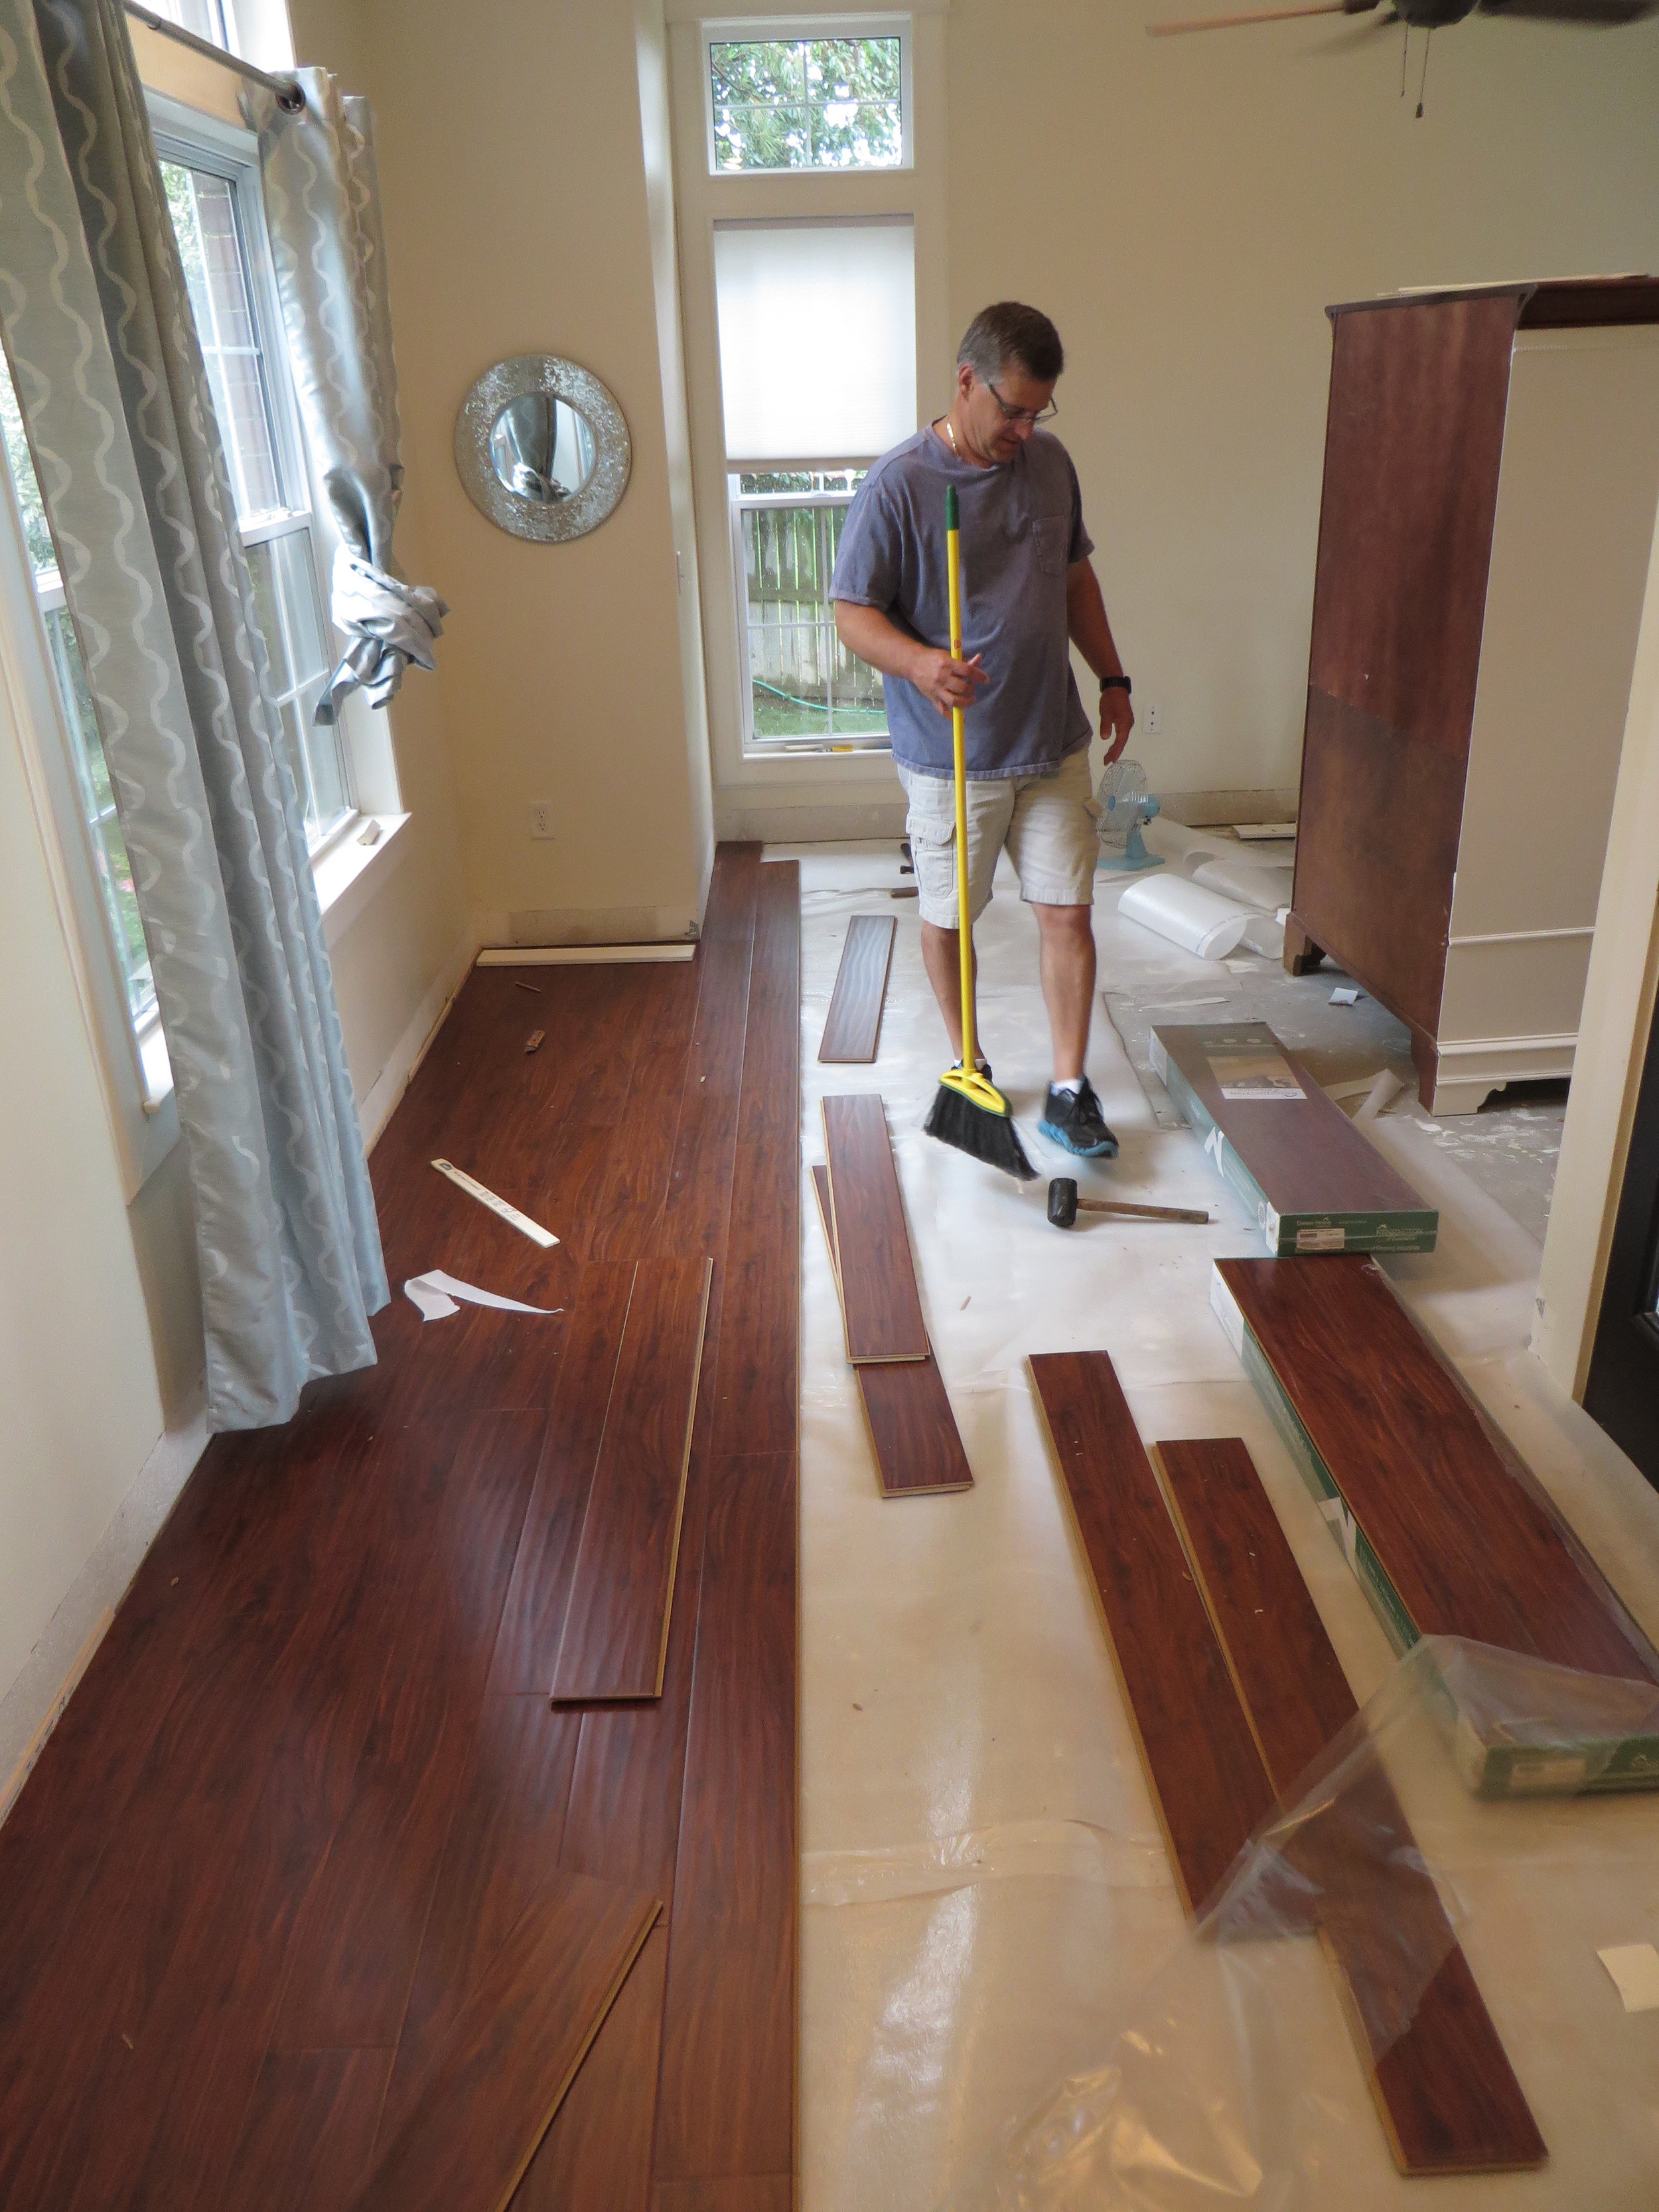
Unrolling and Securing the Underlayment: Roll out the underlayment across the room, ensuring the seams overlap by at least 6 inches to prevent any gaps. You can use double-faced tape to secure the underlayment to the subfloor, ensuring it lies flat.
The Moment of Truth: Laying the Laminate Floor
This is where the real fun begins! We’ll be focusing on two popular laying methods to guide you through the process.
-
Choosing a Layout: The first decision is the pattern. Decide whether to go with a straight layout, a staggered layout, or a herringbone pattern. The straight layout is the simplest and works well for smaller rooms. The staggered layout adds visual interest, while the herringbone pattern is a more complex design.
-
The Click-and-Lock System: Most laminate planks use a click-and-lock system, making installation relatively straightforward. The planks snap together with tongue and groove edges, creating a secure and tight fit.
-
Starting from the Wall: Begin installing the laminate planks from the longest wall in the room. You’ll need expansion gaps at the walls, so leave a gap of about 1/4 inch around the perimeter.
-
The First Row: Align the first plank along the wall, leaving the expansion gap. Use a spacer to ensure even spacing. If you’re using a click-and-lock system, carefully click the planks together, ensuring they are securely locked.
-
The Subsequent Rows: For staggered layouts, offset each row by half the length of the plank to break up the pattern. Keep the expansion gaps consistent throughout.
-
The Last Row: Depending on the room size, the last row may require cutting the planks. Measure the remaining space and mark the plank accordingly. Use a miter saw or a circular saw to make precise cuts.

Image: laminateflooring25.blogspot.com
Finishing Touches: Completing Your New Floor
You’re almost there! We’ll wrap things up by installing the baseboards and adding the finishing touches.
-
Installing Baseboards: Measure and cut the baseboards to fit along the walls. Use a nail gun or hammer and nails to securely attach the baseboards to the wall, covering the expansion gaps between the laminate planks and the walls.
-
Transitions: If you have different flooring types in adjacent rooms, use transition strips to seamlessly connect them! Choose strips that match your laminate flooring style for a cohesive look.
-
Cleaning Up: Once everything is securely in place, it’s time for a final sweep and vacuum! Remove any debris that may have accumulated during the installation process.
Expert Insights for a Perfect Laminate Floor
Here are some expert tips to elevate your bedroom floor game:
-
Invest in Quality: When choosing laminate flooring, opt for higher-quality planks with a thicker core. This will ensure a more durable and long-lasting floor.
-
Pre-Planning is Key: Before starting your project, map out the layout of your laminate flooring on paper, factoring in the expansion gaps and ensuring you have enough planks to complete the project.
-
Consider Underlayment: High-quality underlayment drastically reduces noise and improves the overall comfort of your laminate floor.
-
Professional Help for Complex Projects: If your bedroom has complex features like a fireplace or intricate moldings, consider consulting a professional for guidance and assistance with the installation.
Best Way To Lay Laminate Flooring In Bedroom
Conclusion: Your Dream Bedroom Floor Awaits!
You’ve done it! Your bedroom now boasts a stunning new laminate floor that elevates the space and reflects your style. But remember, patience and attention to detail are key. With a little effort and this comprehensive guide, you can transform your bedroom floor into a masterpiece. So, embrace the DIY spirit, get ready to make some magic happen, and revel in the beauty of your newly renovated bedroom! Share your experience and tag us on social media so we can see your amazing results. Happy flooring!


