Have you ever walked into a room and been instantly drawn to the elegant gleam of a newly installed laminate floor? Its sleek, wood-look finish, durability, and affordable price make it a darling of home renovations. But how do you actually tackle laying a laminate floor yourself? The thought of DIY flooring can be daunting, but let me assure you, it’s achievable. This comprehensive guide will demystify the process, empowering you to transform your home with beautiful, lasting laminate floors.

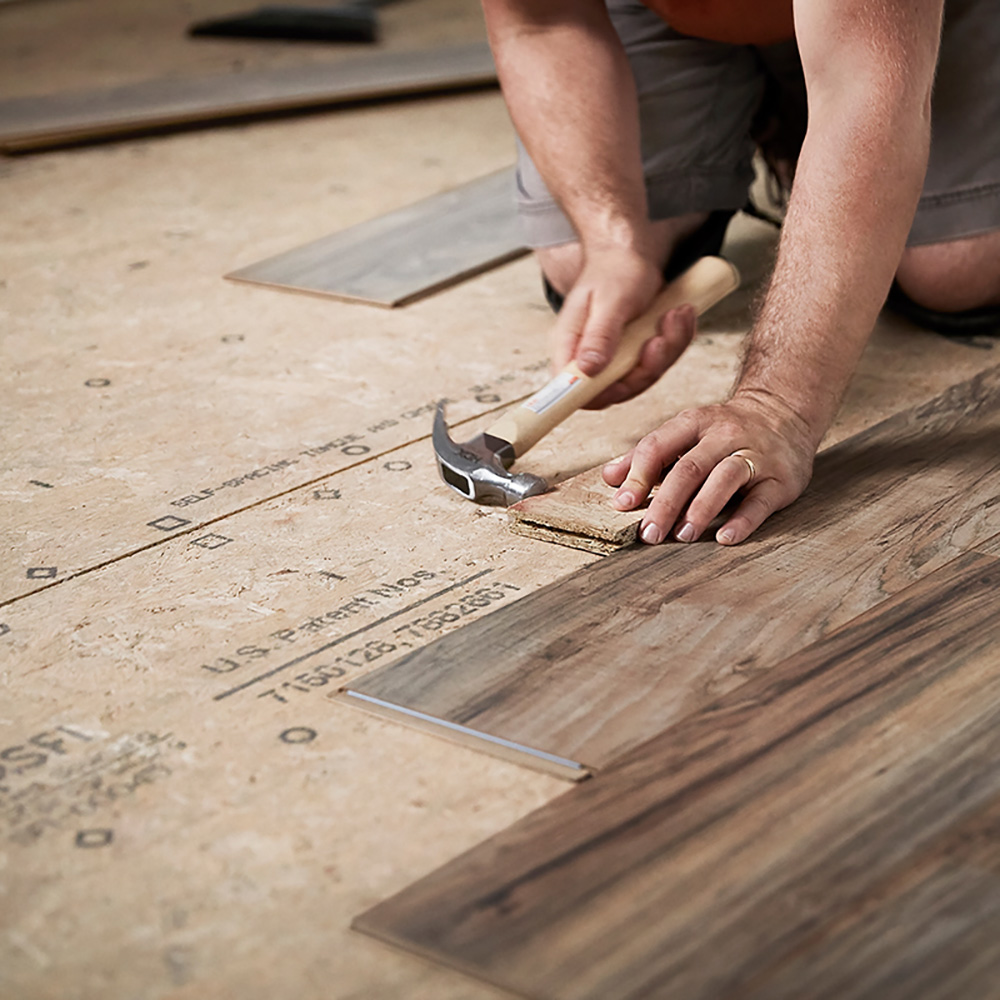
Image: www.homedepot.com
We’re going to dive into the step-by-step process of laying laminate flooring, providing practical tips, helpful tricks, and insider knowledge to ensure your project goes smoothly. We’ll address common challenges, dispel myths, and equip you with the confidence to tackle this project yourself. Ready to embrace the DIY spirit and become your own flooring expert? Let’s get started!
Prepping for Success: Creating a Solid Foundation
Laying laminate flooring is a rewarding project, but it’s also one that’s crucial to get right from the start. A strong, level foundation is the cornerstone of a successful laminate installation. Think of it as building a house – a shaky foundation will eventually lead to cracks and problems. In the world of laminate flooring, a strong foundation means a floor that looks great and lasts for years to come.
1. The Importance of Preparation: More Than Just a Cosmetic Touch
Before we get our hands dirty with the actual installation, we must ensure a solid foundation. This involves more than just sweeping away dust and debris – it’s about creating an environment where your laminate floor can thrive.
Imagine a beautiful, brand new floor, seamlessly blending into your home, its sleek surface reflecting your interior design style. But beneath this picture-perfect surface, there’s the potential for disaster if the foundation isn’t up to par. Uneven subfloors, moisture seeping in, or even just a poorly prepared underlayment can lead to cracks, gaps, and even squeaking – all detracting from the beauty and durability of your new floor.
2. Subfloor Inspection: Identifying Potential Pitfalls
Think of this step as a “health check” for your existing floor. This involves carefully inspecting the subfloor for any imperfections. Unevenness, cracks, or even just a slightly warped surface can cause problems for your laminate floor.
Use a level to check for dips and bumps, especially in areas where furniture will be placed. If you find any significant irregularities, these need to be addressed before moving forward. Consider using plywood to level out the surface.

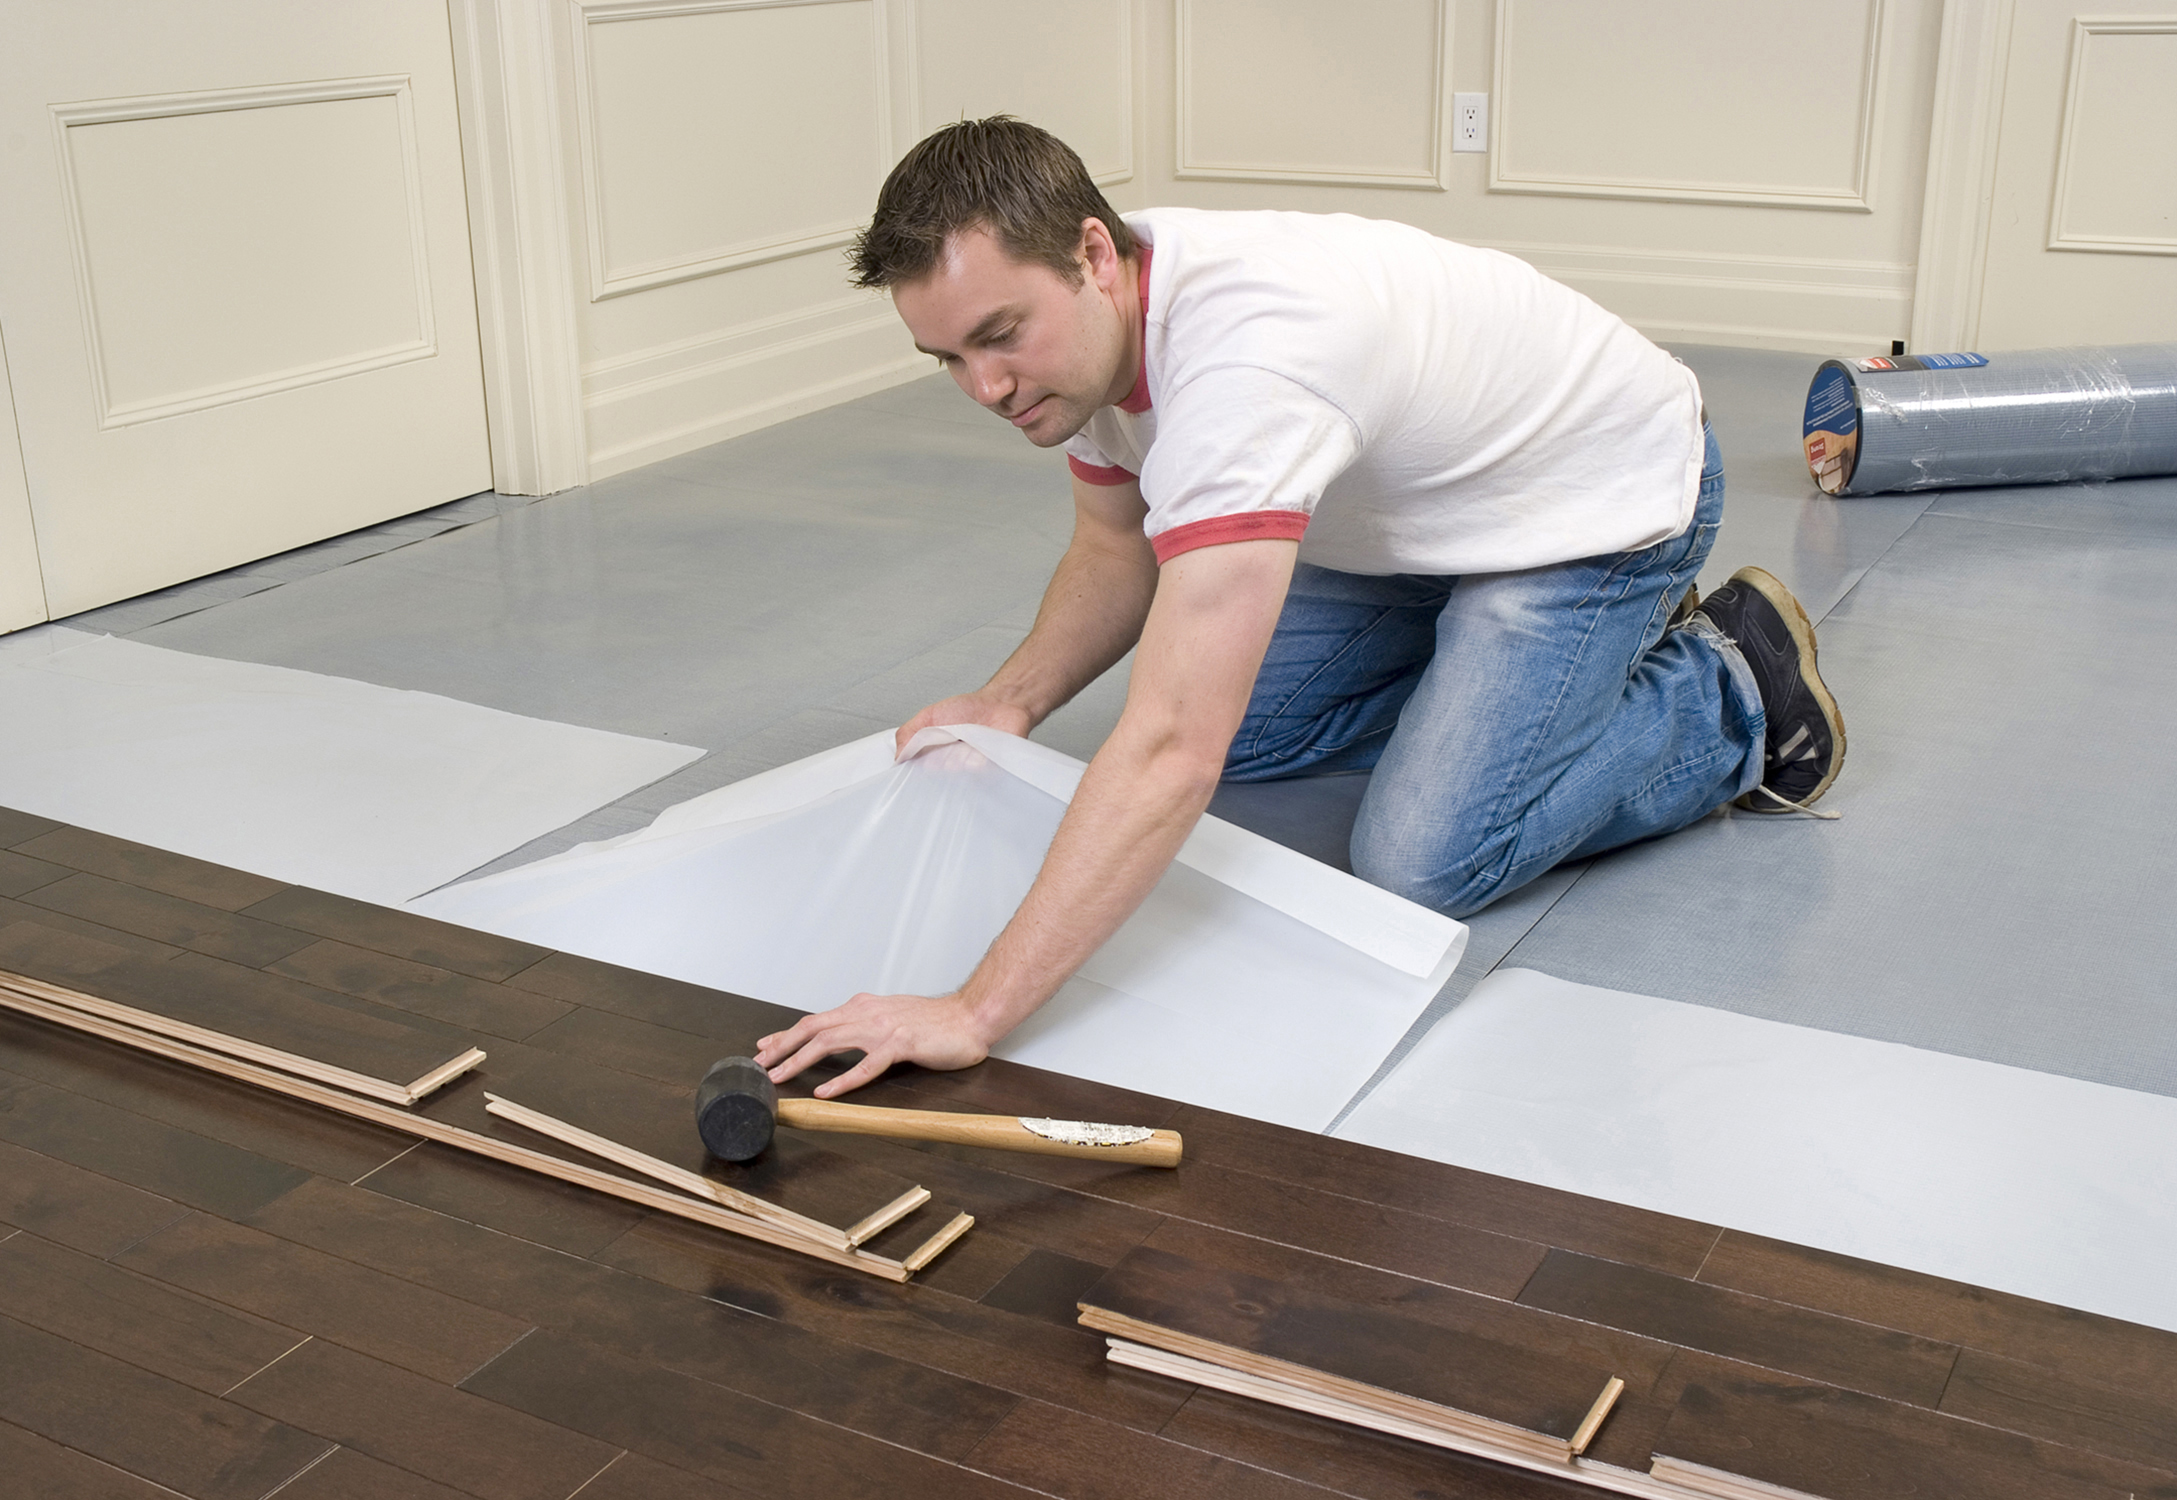
Image: www.hirerush.com
3. Moisture Barrier: Protecting Your Investment
Laminate flooring is generally a durable option, but it’s not impervious to moisture. Imagine your beautiful floor succumbing to warping or swelling due to dampness. To prevent this, it’s essential to lay down a moisture barrier over the subfloor. This acts as a shield against any potential moisture seepage from below.
Think of it as a protective layer, safeguarding your investment and ensuring your laminate floor enjoys a long, healthy life. There are several options for moisture barriers, such as polyethylene sheets or specialized underlayment with integrated moisture protection.
4. Underlayment: A Cushioning Embrace For Your Floor
Underlayment isn’t a luxury – it’s a vital component that contributes to your laminate floor’s comfort, sound insulation, and even its longevity. Imagine walking on your laminate floor, feeling a gentle cushion beneath your feet, and enjoying the quietness of a well-insulated room. That’s the power of underlayment!
This layer is applied directly over the moisture barrier and provides a number of benefits:
- Sound Control: Underlayment helps reduce noise transfer between floors, making your home quieter. No more loud footsteps echoing through the house!
- Comfort: It provides a cushioning effect, making your laminate floor feel softer and more comfortable underfoot.
- Protection: The underlayment acts as a buffer between your subfloor and the laminate planks, preventing wear and tear on your new floor.
Installation: Mastering the Art of Laying Laminate Flooring
With your subfloor prepped and ready to go, it’s time to dive into the installation process. This is where the true magic happens, transforming your floor from a potential project into a beautiful reality.
1. Plan of Attack: Starting Point and Direction
Before laying down the first plank, it’s essential to have a clear vision of how you’ll be working. The placement of your first plank will set the tone for the entire installation. The direction you choose to lay the planks will impact the overall look and feel of the floor.
- Starting Point: Decide where you want your first plank to be placed. A rule of thumb is to start from the wall that gets the most lighting, as any minor unevenness in the floor will be less noticeable.
- Direction: Think about how you want the flooring to flow. Laying the planks parallel to the longest wall will give a sense of length and spaciousness, while placing them perpendicular to the walls can add visual interest.
2. Measuring and Cutting: Precision is Key
Accuracy is vital for a seamless laminate floor installation. Invest in a good measuring tape and a sharp utility knife, and don’t be afraid to make cuts. Accurate measurement and cutting are crucial for achieving a professional finish.
- Measure Twice, Cut Once: Measure carefully before making any cuts. This includes accounting for wall gaps and any necessary trimming around obstacles like doorways or pipes.
- Cutting Techniques: Use a T-bevel tool to create precise cuts for molding and trim. For straight cuts, a sharp utility knife is your best friend. A circular saw can be helpful for larger cuts, but ensure it’s properly adjusted to avoid chipping the laminate.
3. Installation: Joining the Pieces of the Puzzle
The “click and lock” system of modern laminate flooring makes installation a fairly straightforward process. Each plank is designed to fit seamlessly with the next, creating a cohesive and long-lasting floor.
- First Row: Lay down the first row of planks, starting from your chosen starting point. This row might require cutting to fit alongside walls. Leave a small gap between the planks and the wall to allow for expansion.
- Subsequent Rows: Start each subsequent row with an offset (or stagger) from the row before it to create a brick-like pattern. This ensures strength and stability.
- Tapping in the Planks: Use a tapping block and rubber mallet to gently tap the planks into place, ensuring a tight connection. A tapping block helps distribute pressure evenly, preventing damage to the planks.
4. Finishing Touches: Molding and Trim
Once all laminate planks are in place, it’s time to add the finishing touches that bring your DIY flooring project to completion.
- Transition Strips: Where your laminate floor meets different flooring surfaces, use transition strips to provide a smooth transition.
- Baseboards: Install baseboards to cover the expansion gap between your flooring and the walls.
- Molding: For areas like doorways, use molding to create a seamless, decorative finish.
Maintenance: Keeping Your Laminate Floor Looking Its Best
A little bit of care and attention can go a long way in preserving the beauty and longevity of your laminate floor. Just like any other type of flooring, it needs some TLC to stay in tip-top shape.
1. Regular Cleaning: Routine Maintenance for a Pristine Floor
Keeping your laminate floor clean is a simple yet essential task. Regular cleaning is vital to prevent dirt buildup and ensure it retains its pristine look.
- Daily Sweeping: A quick sweep with a broom or dustpan is ideal for removing dust, dirt, and loose debris.
- Weekly Damp Cleaning: Damp mop with a mild cleaner specifically formulated for laminate flooring. Avoid harsh chemicals, as these can damage the finish.
2. Spot Cleaning: Tackling Stains and Spills
Stains and spills are inevitable, but don’t panic! Quick action can often prevent them from becoming permanent marks on your beautiful floor.
- Blot Stains Immediately: Blot up any spills or stains as soon as they occur.
- Choose Appropriate Cleaners: Make use of appropriate cleaning products designed for laminate floors. Avoid harsh chemicals or abrasive cleaners.
3. Protect From Scratches and Abrasion
Daily use can lead to scratches and abrasions, especially in high-traffic areas. Protect your laminate floor by placing mats and rugs in these areas.
Best Way To Lay A Laminate Floor
Mastering the Art of Laying Laminate Flooring: Unlocking Your DIY Potential
Laying laminate floor yourself is a project that can be both challenging and rewarding. With careful planning, attention to detail, and the guidance of this guide, you’ll be equipped to tackle this DIY endeavor with confidence. Remember, a little patience and dedication are all it takes to create a beautiful, durable, and long-lasting floor that will be the envy of your neighbors.


