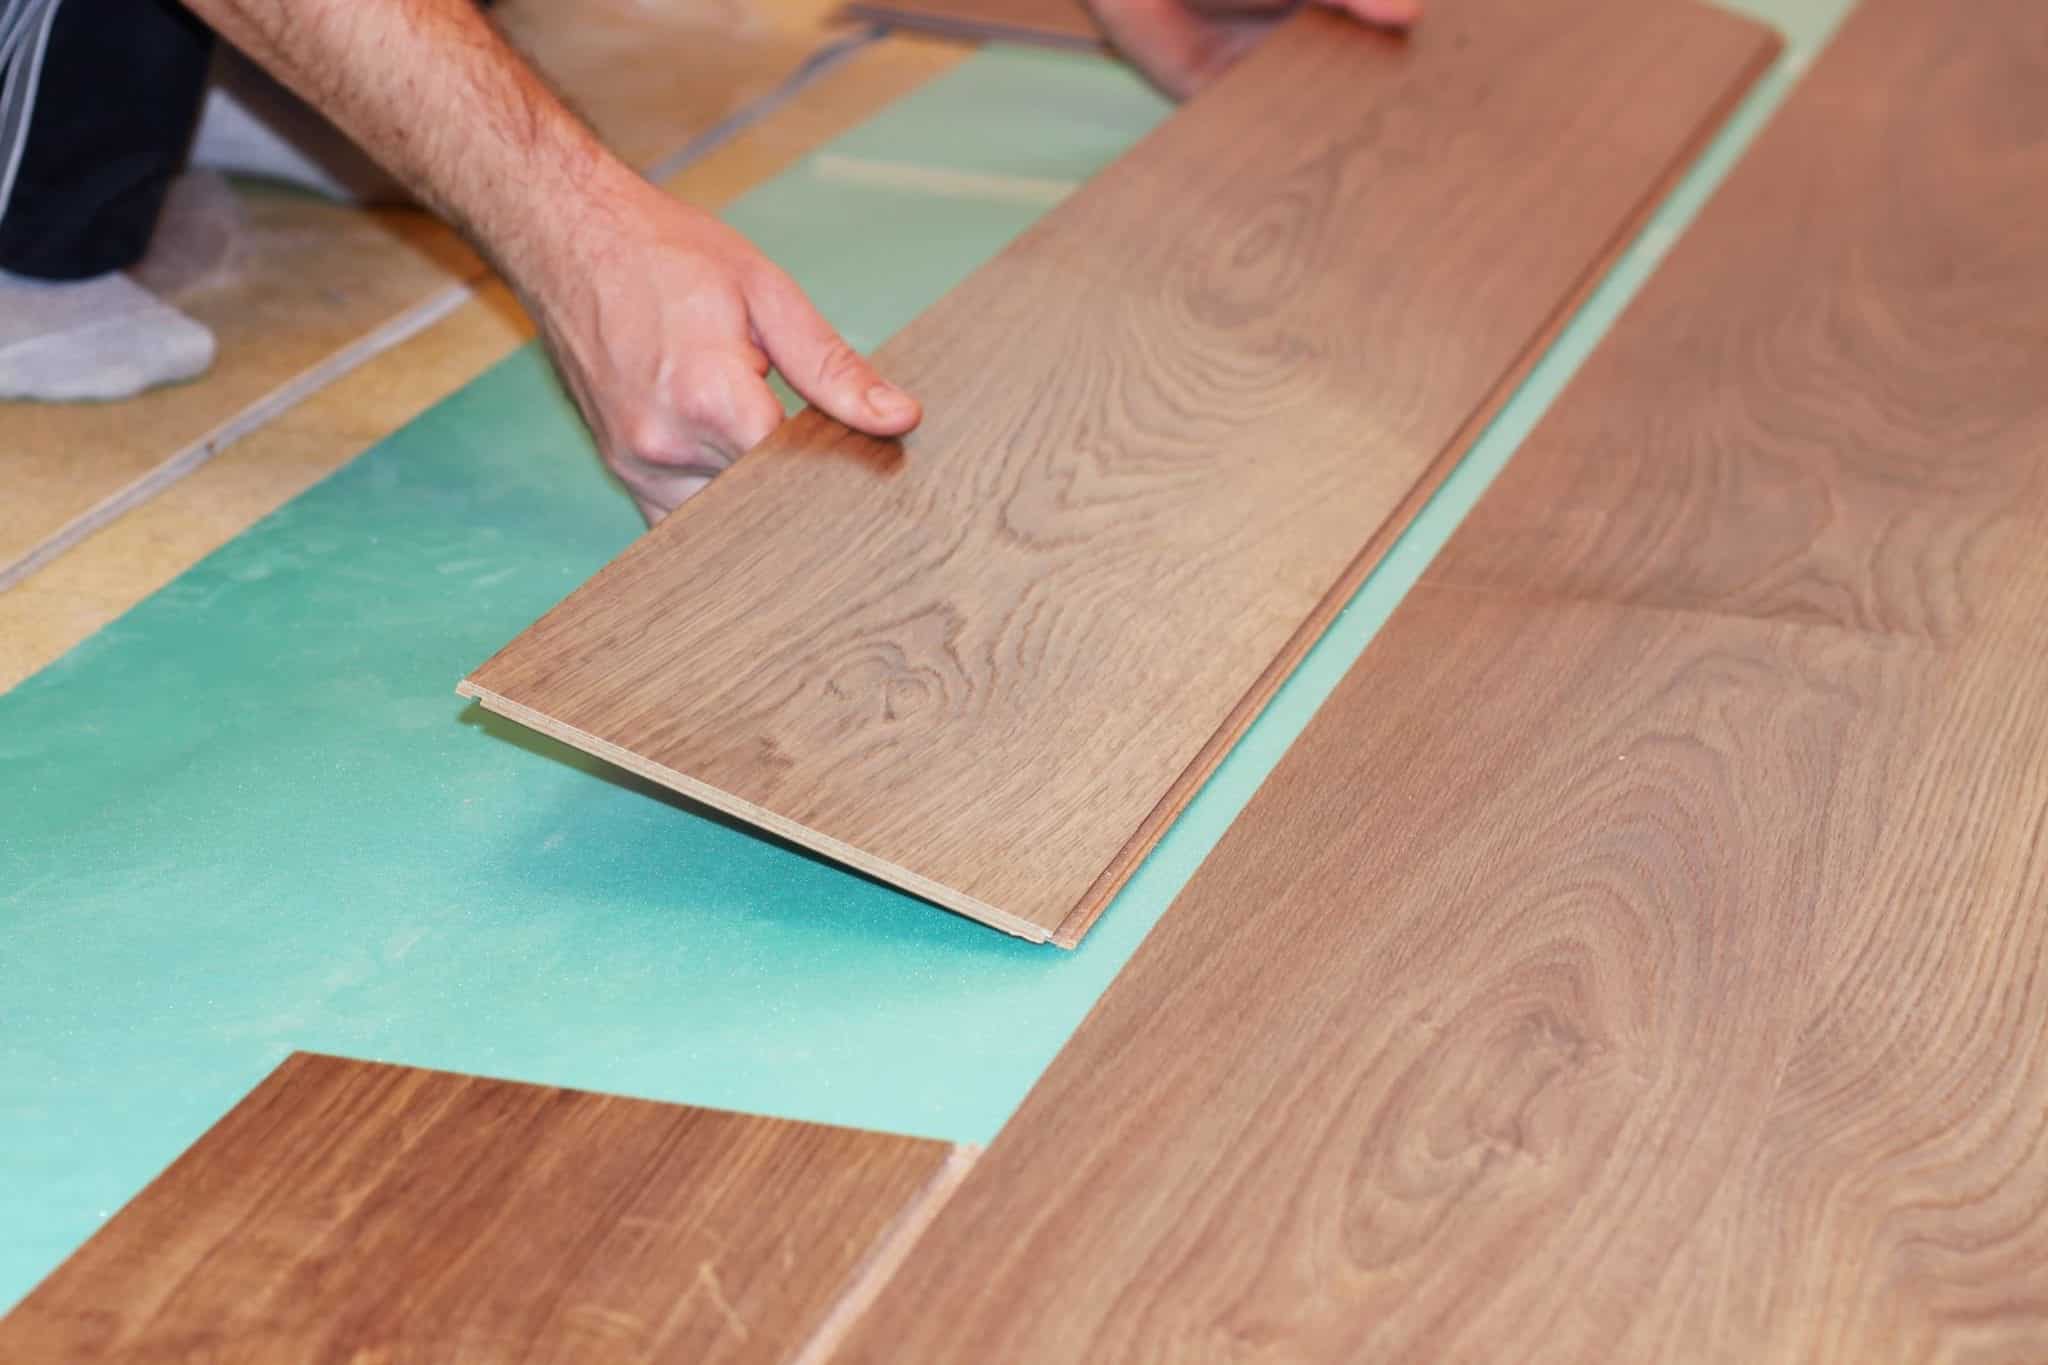
Have you ever looked at your old tile floors and wondered, “Is there a way to give them a fresh, modern look without stripping them down to the bare concrete?” The answer, my friends, is a resounding yes! Laying vinyl floor tiles over existing tiles can be a transformative experience, bringing new life and style to your home without the hassle (and dust!) of a complete demolition. This simple, budget-friendly solution offers a world of possibilities, whether you’re aiming for a sleek minimalist aesthetic, a warm rustic charm, or anything in between.

Image: www.artofit.org
But before you dive headfirst into this DIY project, let’s delve into the intricacies of laying vinyl tiles over existing ones. This guide will arm you with the knowledge and confidence to tackle this project with precision and achieve a professional-looking finish.
The Allure of Laying Vinyl Over Existing Tile
You’re likely reading this because you’re captivated by the transformative potential of vinyl flooring. Let’s face it, the allure is undeniable. Vinyl offers a stunning array of designs, textures, and colors, effortlessly mimicking everything from natural stone and hardwood to contemporary patterns. It’s also incredibly durable, water-resistant, and easy to maintain, making it an excellent choice for high-traffic areas and even kitchens and bathrooms.
But what if your existing tiles are still in good condition, but you just want a change? That’s where laying vinyl over existing tiles comes in. It’s a fantastic way to refresh your space without the costly and disruptive demolition of your current floors.
The Foundation of a Successful Project: Preparation is Key
Before you start laying down vinyl tiles, you must ensure your existing tiles are ready for the job. Here’s a step-by-step guide:
-
Inspect and Assess: Give your existing tiles a thorough inspection. Make sure they are stable, without cracks or loose tiles. If you find any cracks or loose tiles, they’ll need to be repaired or replaced before you start laying vinyl.
-
Clean Up: Grab your cleaning supplies! Thoroughly clean your existing tiles to remove dirt, debris, and old adhesive residue. A good scrub with a non-toxic cleaner will ensure proper adhesion for your new vinyl tiles.
-
Leveling the Playing Field: If your existing tiles are uneven, you’ll need to level them out for a smooth and seamless vinyl installation. You can achieve this with self-leveling compound or thinset mortar.
Choosing the Right Vinyl Tile: A World of Options
With the existing tiles prepped and ready, let’s talk about the heart of your project: the vinyl tiles themselves. The vast array of options available can be exhilarating but also overwhelming.
-
Click-Lock or Peel and Stick? Vinyl tiles come in different installation types. Click-lock tiles are designed to interlock without the need for glue, making installation a breeze. Peel and stick tiles, on the other hand, feature a self-adhesive backing for a quick and easy installation.
-
Selecting the Right Size and Design: Vinyl tiles come in various sizes, with larger tiles offering a modern, minimalist look, and smaller tiles creating a classic, intricate feel. Consider the size of your room and the overall design aesthetic you want to achieve.
-
Material Matters: Many vinyl tiles are made with luxury vinyl plank (LVP), a durable and versatile material that beautifully replicates the look of natural wood. Other options include vinyl sheet flooring for a seamless look or vinyl tiles with different finishes, from sleek matte to polished gloss.

Image: phenergandm.com
The Art of Installation: A Step-by-Step Guide
Now, brace yourselves for a rewarding experience as we delve into the exciting step-by-step process:
-
Measure and Layout: Before you start cutting and laying, measure your space and create a precise layout. It’s a good idea to start with a center point and expand outwards to ensure your tiles are evenly placed.
-
Prepare the Workspace: Clear furniture, remove baseboards, and cover delicate surfaces with drop cloths. Safety first!
-
Cutting for Precision: Vinyl tiles are easy to cut with a utility knife, scissors, or a specialized vinyl cutter. For complex shapes, measure carefully and cut your tiles accordingly.
-
Installation: Start with the first tile and press it firmly into place. Follow the manufacturer’s instructions carefully, as the installation method may vary depending on the type of tile you’ve chosen. Continue adding tiles row by row, ensuring the seams are aligned.
-
Finishing Touches: Once your tiles are laid, run the tiles along the edges of the room. This will ensure that your tiles are installed perfectly. You may need to trim your tiles to fit snugly against walls, cabinets, or other features.
Expert Insights and Actionable Tips
-
Remember, a good tool is your best friend! Invest in a high-quality utility knife or vinyl cutter for smooth cuts and a professional finish.
-
Don’t rush the process! Take your time and be meticulous, checking for alignment and making adjustments as needed.
-
Embrace the transformative power of vinyl flooring! It’s a smart, budget-friendly way to upgrade your home’s look and feel.
Laying Vinyl Floor Tiles Over Existing Tiles
The Final Transformation: Your Vision Come To Life
By taking the time to plan, prepare, and execute your project, you’ll be amazed at the transformation that laying vinyl floor tiles over existing tiles can achieve. You’ll enjoy the beauty, durability, and functionality of your new flooring for years to come! Now that you’re equipped with the knowledge and confidence to tackle this project, don’t be afraid to embrace your inner DIY enthusiast and bring a touch of freshness and style to your home. The results are sure to surpass your expectations, leaving you with floors that are as beautiful as they are functional. Share your project journey and celebrate your success! Show us your magnificent transformation!


