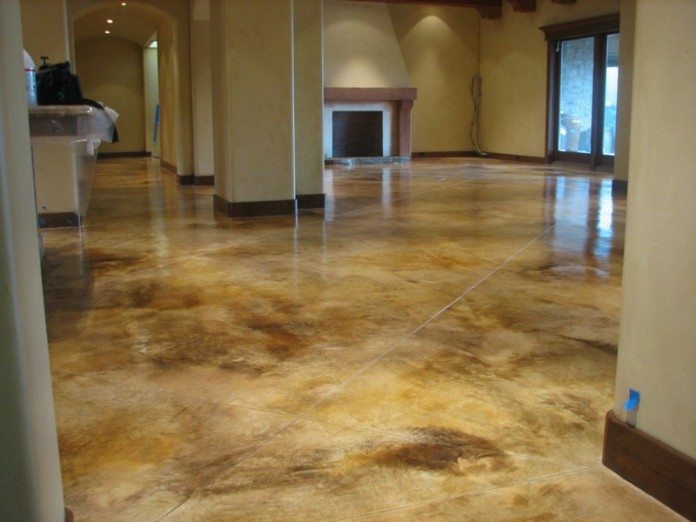
Have you ever walked into a home with stunning concrete floors that seem to radiate warmth and character? Concrete floors, once considered purely functional, are now embraced as a design element that adds a touch of industrial chic or rustic charm. The key to achieving this captivating look lies in the art of staining and sealing. This guide will be your compass, leading you through this transformative process, empowering you to create a masterpiece on your own concrete floors.

Image: diyprojects.ideas2live4.com
Imagine stepping into your living room, and instead of the bland, gray surface of unfinished concrete, you’re greeted by a rich, deep mahogany hue that warms the entire space. Or perhaps you envision a sleek, polished concrete floor with a subtle, sophisticated slate finish, adding a touch of elegance to your kitchen. Staining and sealing concrete floors isn’t just about aesthetics; it’s about enhancing your home’s beauty, adding value, and creating a long-lasting, durable surface that can withstand the test of time.
Preparing Your Concrete Floor: The Foundation for a Beautiful Finish
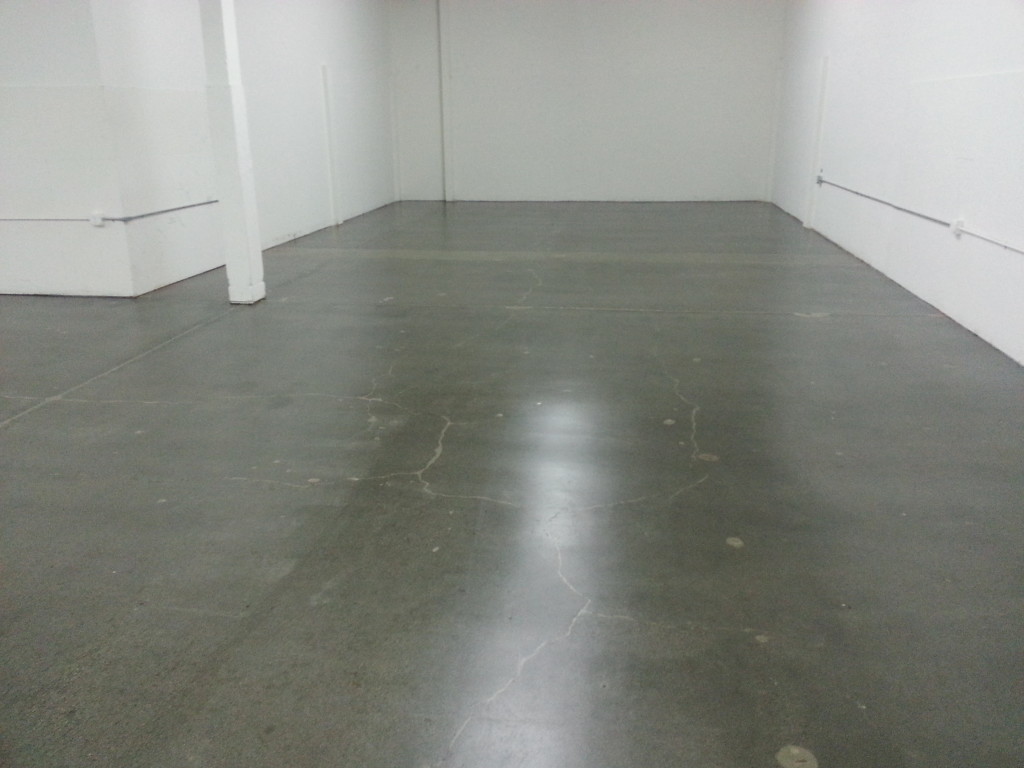
Before we dive into the captivating world of stains and sealants, let’s first lay down a solid foundation. Proper preparation is crucial for a successful concrete staining and sealing project. Imagine a painter neglecting to prepare their canvas – the final result would be messy and disappointing. Likewise, neglecting your concrete floor’s preparation can lead to uneven staining, inconsistencies in the sealant, and even compromised durability.
Here’s a five-step preparation checklist to ensure a smooth and stunning transformation:
-
Cleaning Your Canvas: Start with a thorough cleaning to remove any dirt, grease, or grime that could interfere with the staining process. A pressure washer or a strong cleaner designed for concrete will work wonders.
-
Patching and Repairing: If your concrete floor has cracks, chips, or uneven spots, patching them with a concrete patching compound is crucial. This ensures a seamless surface for staining.
-
Etching the Surface: Etching is a crucial step that opens up the pores of the concrete, allowing the stain to penetrate deeply and create a vibrant, lasting finish. Acid-based etchants are commonly used, but always follow the manufacturer’s instructions carefully.
-
Neutralizing the Acid: After etching, neutralize the acid with a solution of water and baking soda to prevent any further damage to your floor. This ensures a neutral pH, essential for optimal staining and sealing results.
-
Thorough Drying: Allow the concrete to dry completely after cleaning, etching, and neutralization. Moisture can interfere with the staining and sealing process, leading to unwanted results.
Unveiling the Artistry of Staining: Colors That Captivate
Now, let’s unleash the artist within you as we explore the world of concrete stains. Stains come in a vast array of colors, allowing you to transform your concrete floor into a personalized masterpiece. Imagine the possibilities – from the rustic warmth of aged wood to the cool elegance of polished stone, the choice is yours.
Here’s a quick look at the common types of concrete stains:
-
Water-based Stains: These stains are user-friendly, odorless, and quick-drying. They offer a wide range of colors and are a popular choice for DIY projects.
-
Acid-based Stains: These stains are known for their vibrant, dynamic colors and their ability to create a unique, reactive effect on concrete. They are ideal for achieving a dramatic, aged look.
-
Solvent-based Stains: These stains provide deep penetration and lasting color. However, they can have a stronger odor, and ventilation is essential during application.
Your choice of stain will depend on your desired aesthetic, your level of DIY experience, and the specific requirements of your project. For intricate designs or complex color schemes, consider consulting with a professional concrete staining contractor.
Protecting Your Investment: The Science of Sealants
Just as a masterpiece requires a protective varnish to preserve its beauty and longevity, your stained concrete floor needs a sealant to safeguard it. Sealants create a barrier against stains, spills, and wear and tear, ensuring that your investment remains vibrant for years to come.
Here’s a lowdown on the types of sealants commonly used for concrete floors:
-
Acrylic Sealants: These sealants are water-based, odorless, and easy to apply. They offer a durable, yet breathable finish that enhances both the appearance and the protection of your stained concrete.
-
Epoxy Sealants: These durable sealants are highly resistant to abrasion and chemicals, making them ideal for high-traffic areas or commercial spaces. However, they can be more challenging to apply.
-
Polyurethane Sealants: Known for their glossy finish and excellent durability, these sealants offer excellent resistance to moisture and stains. They are a popular choice for both residential and commercial spaces.

Image: jjvs.org
The Final Touches: Achieving a Stunning Finish
Applying the stain and sealant is a rewarding step, a moment to witness your creative vision taking shape. However, it’s essential to understand the nuances of each process to achieve a flawless result.
Here are some key tips for successful staining and sealing:
-
Applying the Stain: Apply the stain evenly using a roller or brush, working in small sections for consistent coverage. Allow sufficient drying time between coats.
-
Applying the Sealant: After the stain has cured, apply the sealant using a roller or brush, following the manufacturer’s instructions carefully. Multiple coats may be necessary to achieve the desired level of protection.
-
Maintaining Your Concrete Floor: Once the sealant has cured, maintenance is key to preserving your investment. Regularly sweeping or vacuuming your floor and mopping with a mild, pH-neutral cleaner will help keep it looking its best.
Expert Insights: Guidance from the Pros
For those venturing into the exciting world of staining and sealing concrete floors, seeking advice from experts can be invaluable. Here are some crucial insights from professionals in the field:
-
Choosing the Right Stain and Sealant: Concrete staining contractors emphasize the importance of selecting the right stain and sealant for your specific needs and project conditions. A thorough understanding of your concrete floor, the level of traffic it will receive, and the desired finish will guide your decision.
-
Preparation is Key: Professionals consistently stress the paramount importance of proper preparation. Even the most experienced contractor will encounter challenges if the concrete floor isn’t properly prepared, cleaned, etched, and neutralized.
-
Patience and Attention to Detail: Achieving a flawless concrete stain and seal requires patience, attention to detail, and a meticulous approach. Be sure to allow sufficient drying time between coats and work carefully to avoid inconsistencies or imperfections.
How To Stain And Seal Concrete Floors
Conclusion: Embark on Your Concrete Floor Transformation
Transforming your concrete floor with the magic of staining and sealing is a rewarding endeavor that can enhance your home’s beauty and add value. From the initial cleaning and preparation to the application of the vibrant stain and protective sealant, each step is an opportunity to turn your vision into reality. Remember, patience, meticulousness, and a commitment to detail are essential for achieving a stunning finish. Whether you’re a DIY enthusiast or seek professional assistance, the journey of transforming your concrete floors into a piece of art begins with a single step. Now, take that step, and let your creative vision come to life!


