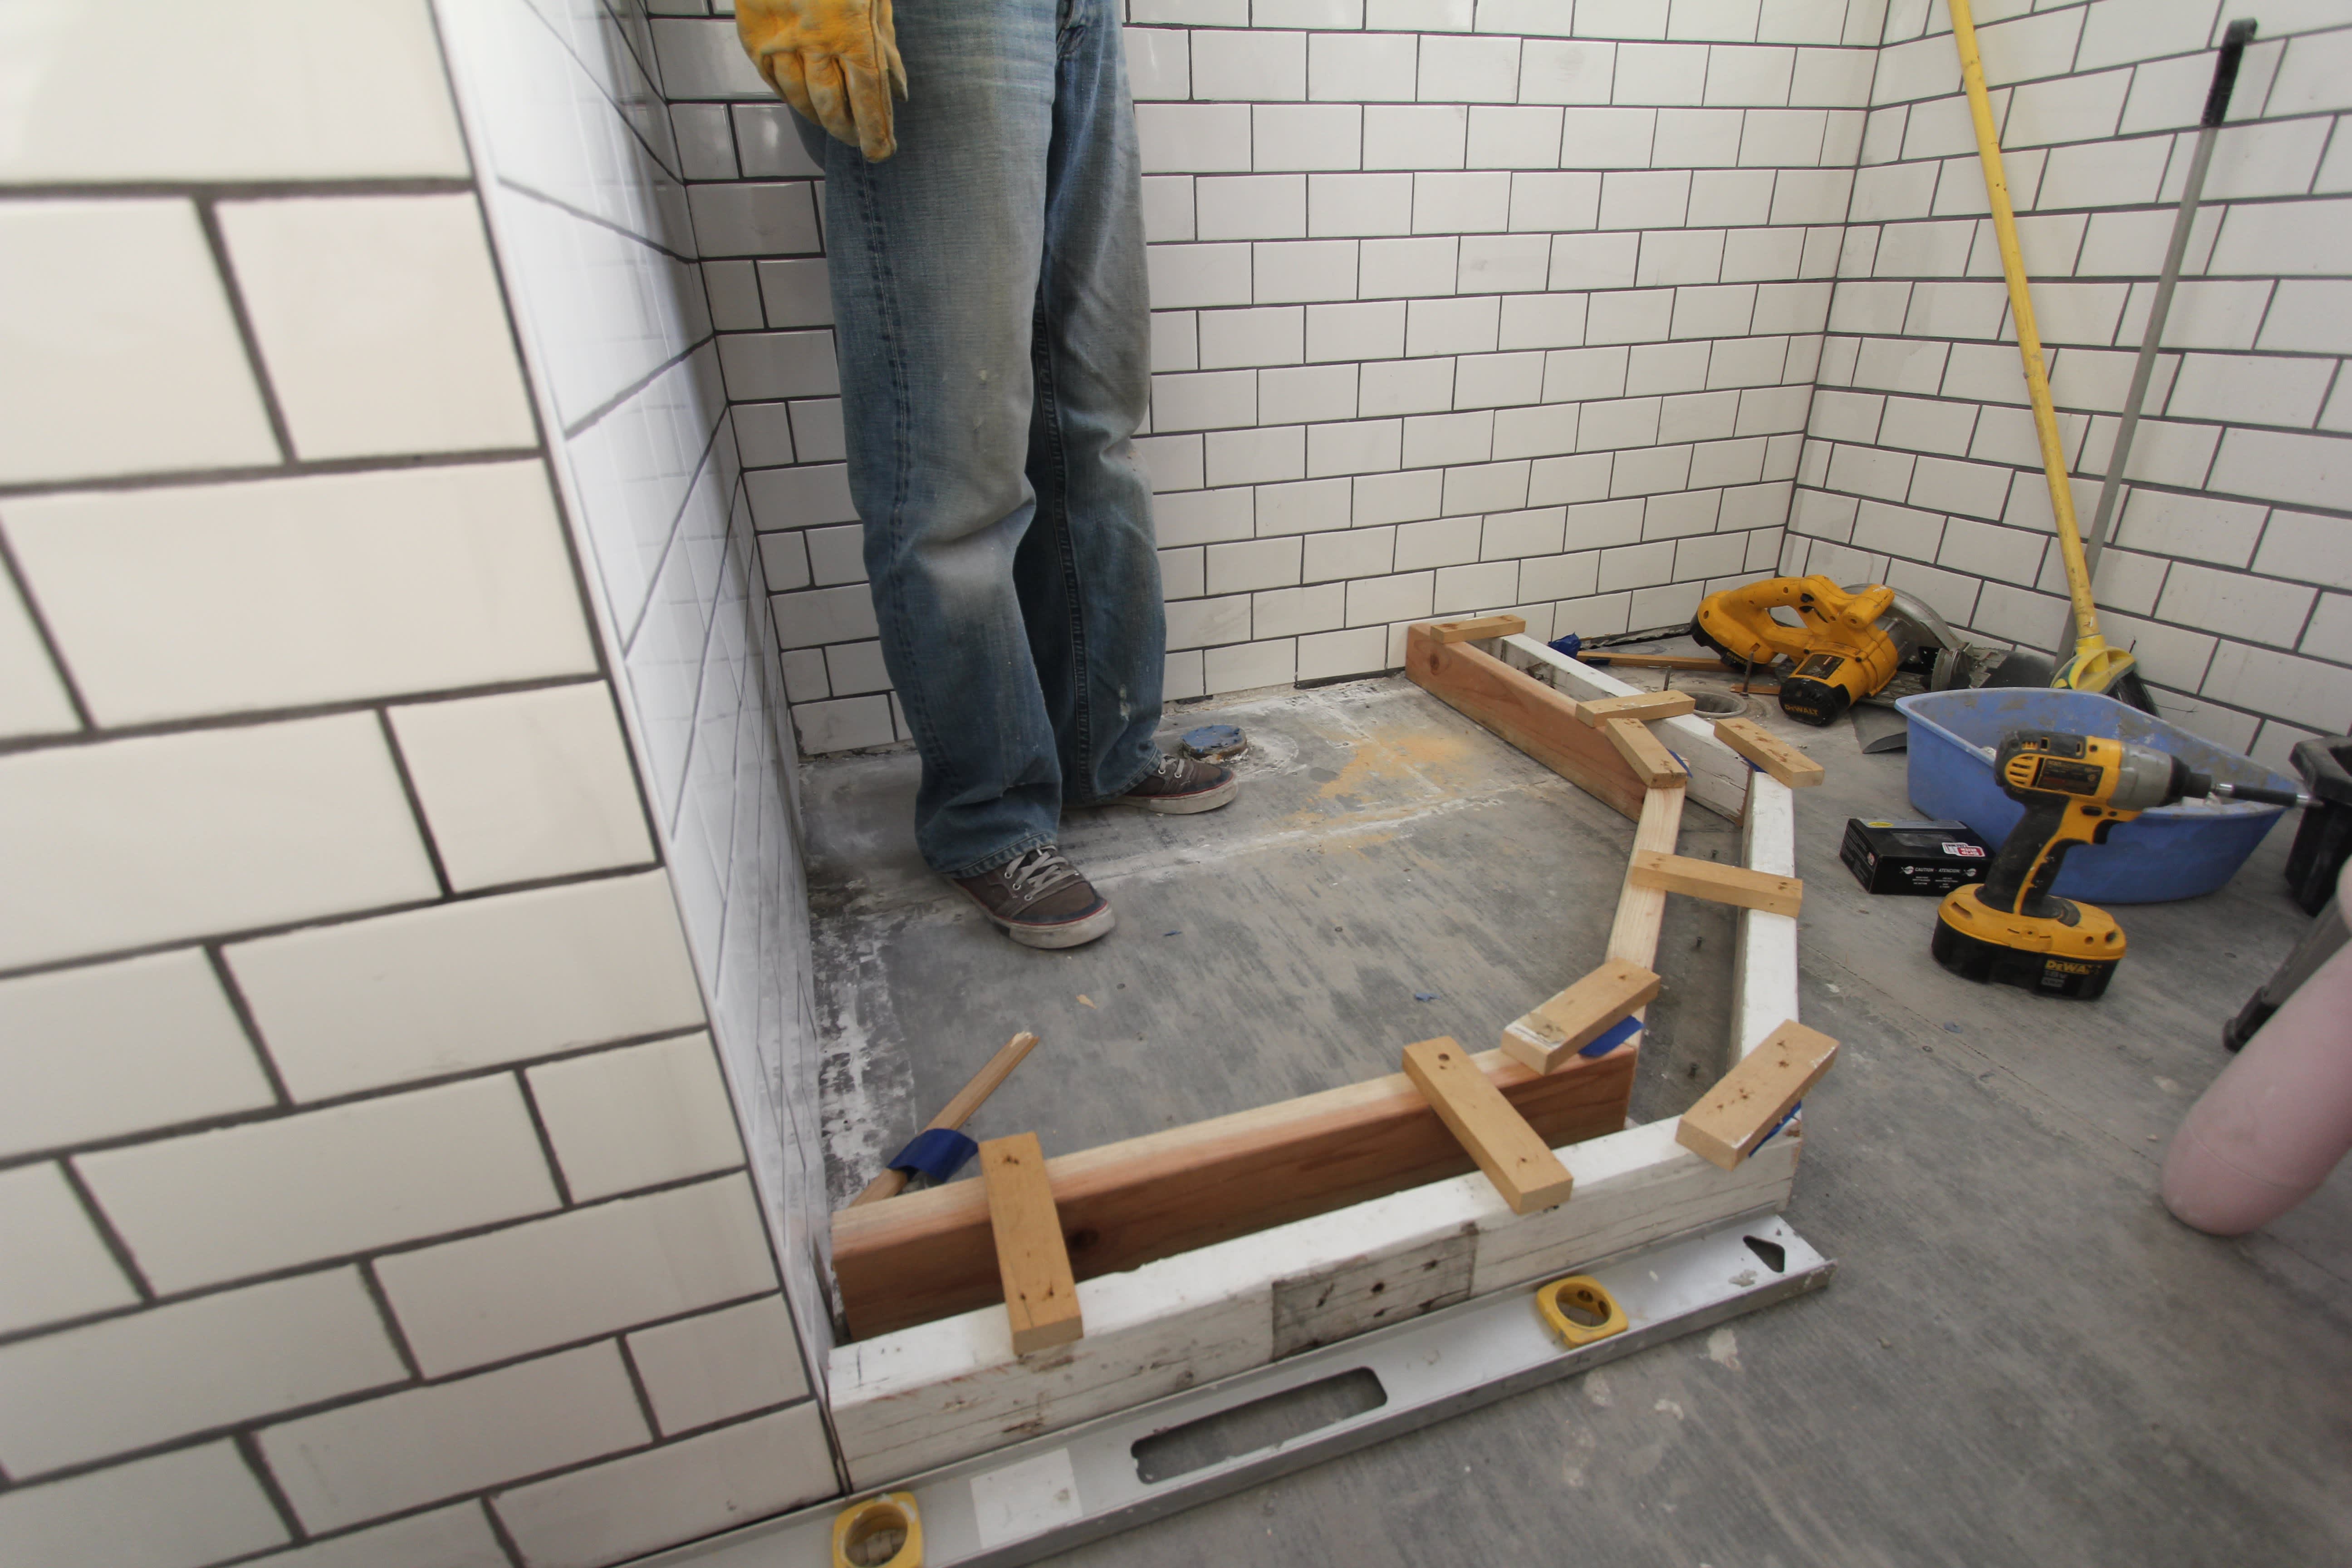
Have you ever dreamed of transforming your bathroom into a luxurious spa-like oasis? Maybe you’re envisioning sleek, modern tiles, a rainfall showerhead, and a calming ambiance. But before you can even start choosing the perfect tile, there’s a crucial step that often gets overlooked – preparing the shower floor.

Image: milenaaerrb.blogspot.com
A well-prepared shower floor is the foundation of a beautiful and long-lasting bathroom. It ensures your tiles bond securely, preventing water damage and the dreaded “shower leak.” This guide will walk you through each step in detail, empowering you to tackle this vital task confidently.
From Concrete Jungle to Sparkling Sanctuary
Imagine this: You’ve spent countless hours meticulously selecting tiles, painstakingly planning the layout, and meticulously cleaning your bathroom. You’re ready to get started, but then – a sinking feeling washes over you. The shower floor isn’t perfectly level. It’s cracked, or worse, it’s showing signs of past leaks. Suddenly, your dream bathroom feels like a distant fantasy.
Don’t despair! Even if you’re a DIY novice, preparing your shower floor for tile is within your reach. We’ll break down the process into manageable steps, providing clear instructions and valuable tips to ensure a smooth and successful tile installation. Your dream bathroom is just a few steps away.
Step 1: Clearing the Way
Your first step is to clear the existing shower floor for a fresh start. This involves:
- Removing Old Tile: If you have existing tile, you’ll need to remove it completely. This might require a hammer and chisel for stubborn tiles. Be sure to wear safety goggles to protect your eyes from flying debris.
- Removing Grout: Use a grout removal tool to carefully remove the grout between the tiles.
- Dealing with Mortar: Once the tiles are removed, you’ll likely find remnants of mortar adhering to the subfloor. A scraper or wire brush can be used to remove these stubborn bits. Remember, the goal is to expose the bare subfloor for a clean, fresh start.
Step 2: Unveiling the Subfloor: A Critical Inspection
The shower floor’s subfloor is the foundation for your tile installation. A thorough inspection is essential. Here’s what to look for:
- Levelness: The subfloor must be level to create a stable base for the tile. You can use a level to check for any dips or uneven areas.
- Cracks or Gaps: Look closely for any existing cracks or gaps. These can cause the tile to crack or even loosen over time.
- Wood Subfloors: If your subfloor is made of wood, ensure the boards are securely fastened and free from rot or decay.

Image: www.youtube.com
Step 3: Mending the Cracks and Leaks: Restoring the Subfloor
Now that you’ve inspected the subfloor, it’s time to address any issues you found.
- Repairing Cracks: Small cracks in concrete can be repaired using a concrete patching compound. Larger cracks may require more significant solutions. It’s recommended to consult with a professional for guidance.
- Addressing Leaks: If you find signs of prior leaks, addressing them is crucial. A professional plumber is the best resource for sealing leaks and preventing future problems.
- Reinforcing Wood Subfloors: If your wood subfloor needs reinforcement, use plywood or other suitable materials to create a solid base.
Step 4: Ensuring Water Tightness
A critical step in preparing your shower floor for tile is creating a waterproof barrier. This will prevent water damage and leaks, protecting your bathroom and your investment in your tile installation.
- Traditional Waterproofing Methods: The most common method is to apply a layer of liquid waterproofing membrane, like a rubberized sealant.
- Membranes: Waterproof membranes are available in different materials and thicknesses, allowing you to choose the best option for your project.
- Important Notes: Always follow the manufacturer’s instructions for proper application and drying time.
Step 5: Building a Stable Base: The Mortar Bed
The mortar bed acts as the glue that bonds your tile to the subfloor. A professionally prepared mortar bed will ensure your tile installation remains securely in place.
- Choosing the Right Mortar: The type of mortar you use will depend on the type of tile and the subfloor. Consult with a tile specialist for guidance on mortar selection.
- Mixing Mortar Properly: Follow the manufacturer’s instructions for mixing mortar. Consistency is key.
- Applying the Mortar Bed: Use a trowel to spread the mortar evenly over the subfloor, creating a smooth, level surface.
Step 6: Tiles: Ready to be Placed
With the mortar bed in place, you’re ready to start laying your tiles.
- Layout: A well-planned layout ensures a visually appealing final result. Using spacers to maintain even spacing is essential.
- Pressing Tiles into the Mortar: Carefully press each tile into the mortar, ensuring it’s level and securely in place.
- Grouting: Once the mortar sets, you’ll need to apply grout to fill the spaces between the tiles. Grouting not only adds aesthetic appeal but ensures a waterproof seal.
Professional Guidance for a Successful Shower Floor
While this guide outlines the key steps in preparing your shower floor for tile, consulting with a professional tile installer is invaluable. They can assess your specific situation, recommend the best materials for your project, and ensure a high-quality installation.
How To Prepare A Shower Floor For Tile
Transforming Your Bathroom into a Dream
Preparing your shower floor for tile is an integral step in creating a beautiful, functional bathroom that you’ll enjoy for years to come.
Now that you understand the basics, you’re equipped to confidently embark on this essential project. By carefully following these steps, you can lay the groundwork for a luxurious bathroom that reflects your personal style and enhances your well-being. Don’t be afraid to embrace the challenge and see your dream bathroom become a reality.


