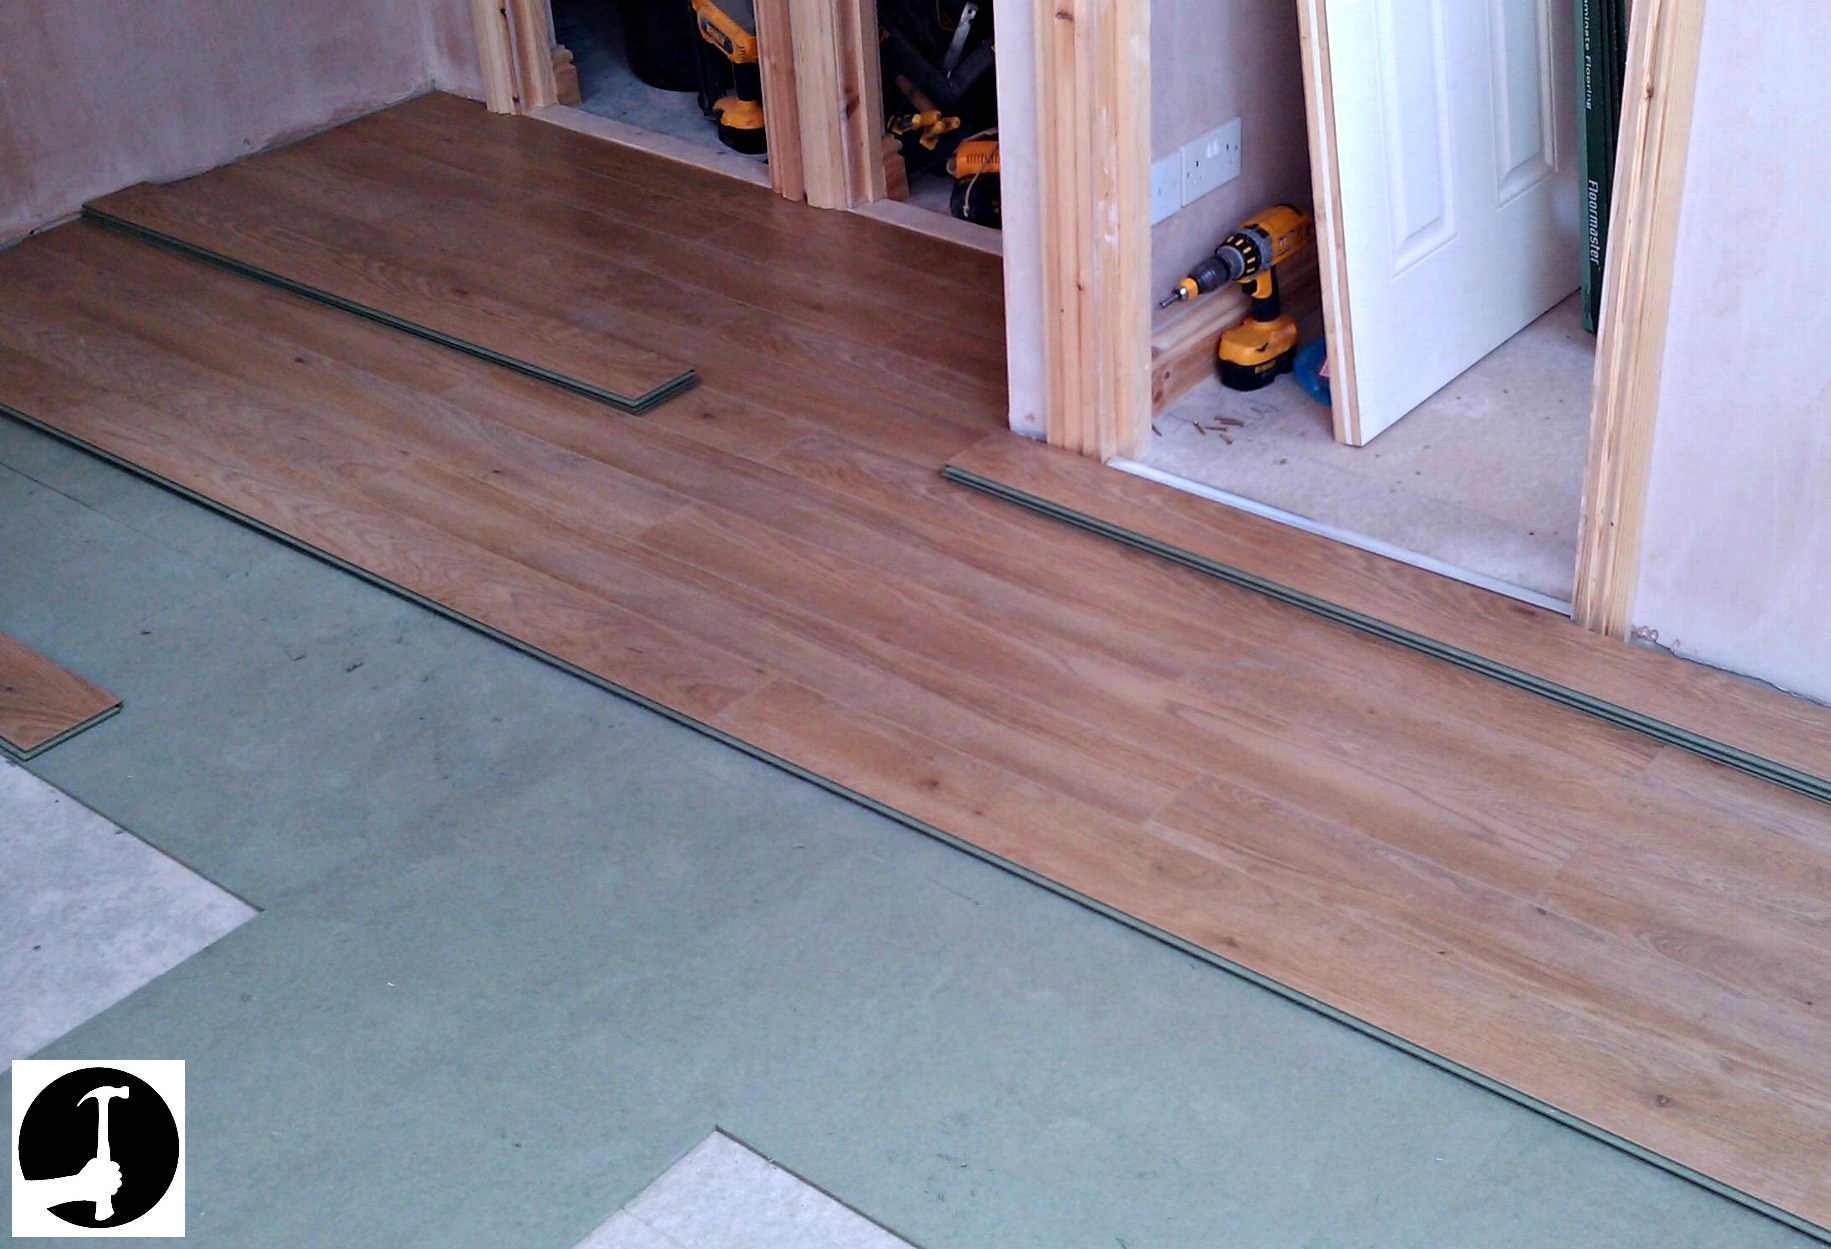
Imagine stepping into your newly renovated home, the light pouring through the windows, reflecting off a beautifully laid laminate floor. But then you notice it – a slight dip here, a bump there, making the surface uneven. It’s a common problem, especially in older homes, and it can ruin the look of even the most stunning laminate flooring. But fear not! The answer to this problem lies in a simple yet crucial step: leveling your concrete floor.

Image: www.pinterest.com
Leveling a concrete floor before installing laminate flooring is essential for a professional-looking finish and a durable, long-lasting surface. It ensures the laminate sits flush, creating a beautiful and even surface for your home. This guide will walk you through the process step by step, empowering you to achieve a perfectly level floor, ready for the beauty of laminate flooring.
Understanding the Importance of a Level Floor
Before we dive into the process, let’s understand why leveling your concrete floor is so crucial. Uneven floors can create a myriad of issues, impacting both aesthetics and functionality. Here’s why a level floor is important:
- Aesthetics: Uneven floors can make your laminate flooring look uneven and unappealing, preventing that sleek and modern look you desire.
- Functionality: Uneven surfaces can cause your laminate flooring to buckle, crack, or even warp over time. This can lead to a trip hazard, making your home unsafe.
- Durability: A level floor provides a stable base for your laminate flooring, reducing the risk of movement, squeaking, and premature wear and tear.
Choosing the Right Leveling Method
Now that you understand the importance of leveling your concrete floor, it’s time to choose the right method for your project. Several options are available, each with its own advantages and disadvantages. Here’s a breakdown of the most common leveling techniques:
- Self-leveling compound: This is the most popular method, especially for smaller areas. It’s a pre-mixed compound that flows and self-levels, creating a smooth and even surface.
- Thinset mortar: For larger areas or those requiring a thicker layer of leveling, thinset mortar is a popular choice. It’s a cement-based mixture that can be applied in thicker layers and is available as a pre-mixed product or as a powder requiring mixing with water.
Step-by-Step Guide to Leveling a Concrete Floor
No matter which method you choose, the fundamental steps for leveling a concrete floor remain relatively similar. Here’s a comprehensive guide to help you create a perfectly level surface for your laminate flooring:

Image: www.stkittsvilla.com
1. Preparation is Key:
- Clean the floor: Begin by thoroughly cleaning the concrete floor with a broom and vacuum cleaner. Remove all dust, debris, and loose materials.
- Repair cracks and holes: Before applying any leveling compound, repair any cracks or holes in the concrete floor. Use a patching compound or concrete repair material specifically designed for this purpose. Let the patching compound cure completely before proceeding.
- Prime the floor: Applying a primer helps to create a better bond between the leveling compound and the concrete. Apply a concrete primer according to the manufacturer’s instructions and let it dry completely.
2. Choosing and Mixing the Right Leveling Compound:
- Self-leveling compound: Read the manufacturer’s instructions carefully. Most pre-mixed compounds require you to stir them thoroughly before using them.
- Thinset mortar: For thinset mortar, you will need to mix the powder with water according to the manufacturer’s instructions. Use a mixing paddle with a drill to achieve a smooth and consistent mixture.
3. Applying the Leveling Compound:
- Pour the compound: Pour the leveling compound onto the floor in sections, working in manageable areas.
- Spread the compound evenly: Use a trowel or squeegee to spread the compound evenly across the floor, ensuring you cover all dips and low spots.
- Remove any air bubbles: Run a roller across the floor to remove any air bubbles.
- Allow the compound to dry: Depending on the compound you choose, the drying time can vary. Be sure to check the manufacturer’s recommendations.
4. Checking Level and Making Adjustments:
- Use a level: Once the compound is dry, check for levelness using a long level or a straight edge.
- Sanding: If any high spots remain, you can sand them down with a sander.
- Apply additional compound: If you’ve missed any areas, you can apply another thin layer of the compound to even out the surface.
Expert Insights and Actionable Tips
Leveling a concrete floor for laminate flooring involves meticulous attention to detail. Here are a few valuable insights from experienced professionals that can make the process smoother:
- Choose the right compound for your needs: Self-leveling compound is great for smaller areas, while thinset mortar works best for larger areas.
- Work in manageable sections: Don’t try to level the entire floor at once. Break it down into smaller sections for easier application and better control.
- Always check for levelness: Don’t rely on your eye alone. Use a level to ensure the floor is perfectly even before your laminate installation.
How To Level Concrete Floor For Laminate
Conclusion: Stepping onto a Smooth and Beautiful Foundation
By following these steps and taking advantage of expert advice, you can confidently level your concrete floor, laying a foundation for beautiful and lasting laminate flooring. Remember, a little effort spent on leveling the floor today will pay off in a smooth and beautiful surface for years to come! So take your time, be meticulous, and enjoy the satisfaction of achieving a perfectly level floor. As you walk proudly across your new laminate floors, knowing you’ve done the job right, you’ll feel a sense of accomplishment. And that feeling, coupled with the stunning visual appeal of your leveled floors, will make the entire effort well worth it.


