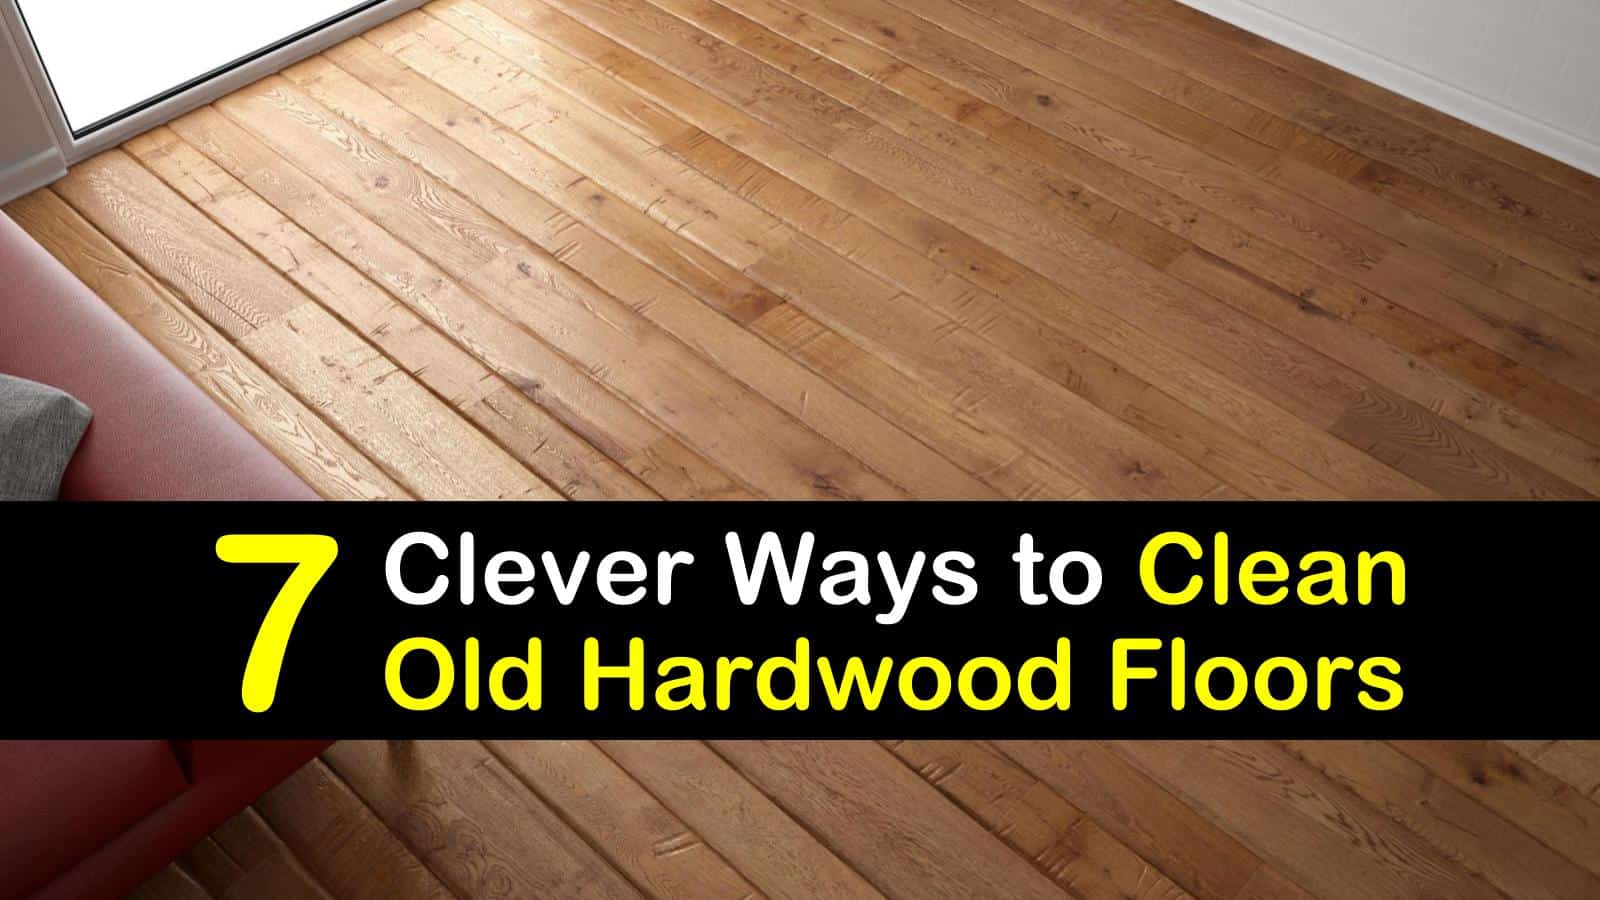
Imagine walking into your home, greeted by the warm glow of sunlight reflecting off beautifully restored hardwood floors. They gleam with a richness that speaks of history, meticulously cared for over time. This isn’t just a scene from a home decor magazine, it’s achievable with the right knowledge and methods. Deep cleaning old hardwood floors isn’t just about removing dirt and grime, it’s about reviving their natural beauty and extending their lifespan. This guide will arm you with the tools and techniques to transform your floors from dull to dazzling, revealing the timeless elegance beneath.

Image: cinvex.us
Old hardwood floors hold a unique charm. They’ve witnessed generations, absorbed stories, and tell a tale of resilience. But with age come challenges – accumulated dirt, scratches, and a dulling of their original luster. Rejuvenating these floors takes more than a quick sweep. It requires a deep, methodical approach that respects their history and addresses their individual needs. A deep clean isn’t just about aesthetic appeal, it’s about protecting the integrity of the wood itself, ensuring its beauty and functionality for years to come.
Prepare for the Deep Dive: The Initial Assessment
1. Assess the Damage
Before you start scrubbing, take a moment to understand the condition of your floors. Examine them closely for the following:
- **Scratches:** Minor scratches can often be buffed out, but deeper gouges might require professional restoration.
- **Staining:** Stains come in various forms, from food and drink spills to pet accidents. Some can be removed with specific cleaning solutions, while others might require special treatments or refinishing.
- **Loose Boards:** Check for any loose or uneven boards that might pose a tripping hazard or indicate underlying structural issues.
- **Build-Up:** Determine the type and level of build-up. Is it mostly dust and dirt, or a heavier layer of grime and wax? This will guide your cleaning approach.
2. Identify the Finish
The type of finish on your hardwood floors is crucial information for selecting the right cleaning methods. Common finishes include:
- **Polyurethane:** This is the most common finish for modern floors, offering durability and resistance to scratches and water.
- **Varnish:** A traditional finish known for its shine and ease of application, but often less durable than polyurethane.
- **Oil-based:** This finish provides a warm, natural look and is good for high-traffic areas, but requires more maintenance.
- **Wax:** Used as a protective top layer, wax can build up over time and require stripping before cleaning.
You can identify the type of finish by testing a small, inconspicuous area. A drop of water will bead up on a polyurethane finish, while it will soak into a varnish or oil-based finish. A strong, shiny finish often indicates wax.

Image: www.familyhandyman.com
The Deep Clean Routine: From Preparation to Perfection
3. Gather Your Arsenal
Before you dive into the deep clean, gather the right tools and supplies. Your cleaning kit might include:
- **Vacuum Cleaner:** A high-quality vacuum with a brush attachment is essential for removing dust and debris.
- **Mop:** Choose a mop with a soft microfiber head for gentle cleaning. Avoid abrasive microfiber or sponge mops as they can scratch the wood.
- **Bucket & Cleaning Solution:** Use a bucket specifically dedicated to cleaning your floors. A mild, pH-neutral cleaner is ideal for hardwood floors. Avoid harsh chemicals or bleach, which can damage the finish.
- **Microfiber Cloths:** These are soft and absorbent, making them perfect for wiping down the floors and removing stubborn dirt.
- **Wood Floor Cleaner:** Select a cleaner specifically designed for your type of floor finish.
- **Steam Mop:** A steam mop can be effective in removing grime and killing bacteria, but make sure the steam setting is low to avoid damaging the wood.
- **Cleaning Brush:** Choose a soft-bristled brush to scrub stubborn dirt from between boards or crevices.
4. Clear the Coast
Before you start cleaning, ensure the area is clear of furniture, rugs, and anything else in the way. Move everything to the center of the room, covering them with drop cloths to protect them from dust and cleaning solution.
5. Start with a Thorough Vacuuming
Begin by vacuuming the floors thoroughly with a brush attachment to remove loose dust and debris. Focus on corners, crevices, and areas under furniture where dust tends to accumulate. A high-quality vacuum with a HEPA filter can help trap dust mites and allergens, contributing to a healthier home environment.
6. The Power of Pre-Cleaning
For heavily soiled floors, a pre-cleaning step can make a significant difference. Choose a cleaning solution based on your floor finish. For example, a mild soap and water solution can be effective for polyurethane floors, while a wood floor cleaner with ingredients that break down stubborn grime is better for heavily soiled areas.
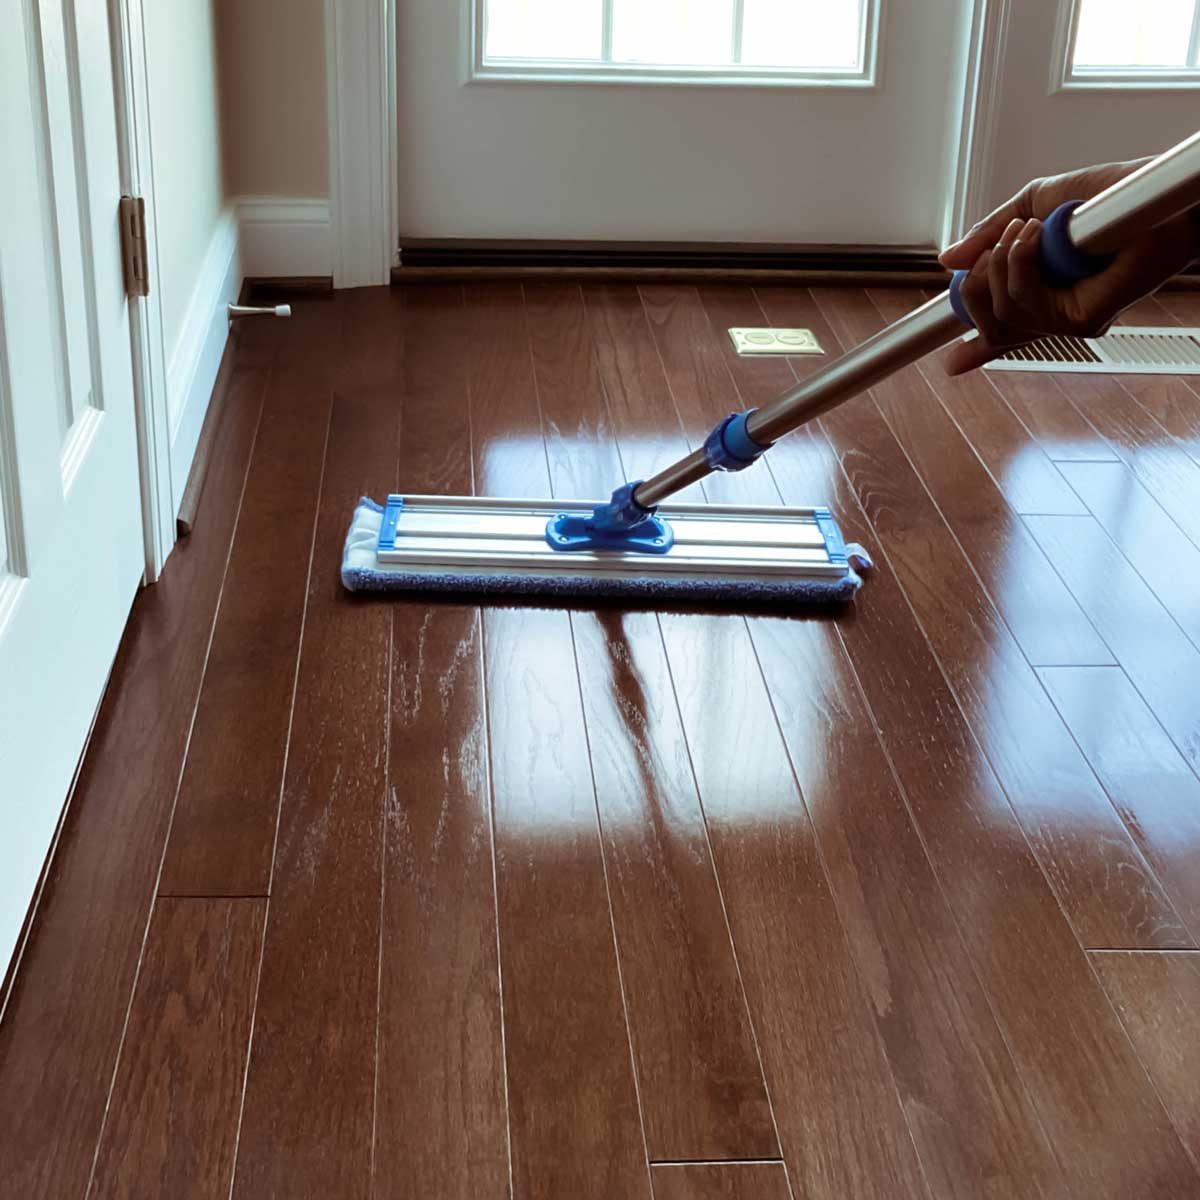
Dip a microfiber mop into the cleaning solution, wringing it out well to avoid leaving excess moisture on the floor.
7. The Final Clean: Making Every Board Gleam
The final cleaning step involves using a cleaning solution tailored to your floor finish. Follow the instructions on the bottle carefully, and always test the cleaning solution on a small, inconspicuous area first.
For polyurethane floors, a diluted wood floor cleaner or a solution of vinegar and water can be effective. Dip your microfiber mop into the cleaning solution, wringing it out well. Work in small sections, scrubbing gently in the direction of the wood grain.
For oil-based finishes, a solution of mild soap and water or a specialized cleaning product designed for oil-based finishes is recommended. Always test the cleaning solution on a small, inconspicuous area first. Be careful not to over-wet the floor, as this can damage the finish.
8. The Drying Process
Once you’ve cleaned the entire floor, let it dry completely. Avoid using fans or heaters, as these can cause the floor to dry too quickly and potentially warp the wood. A gentle breeze or natural air circulation is ideal.
9. The Finishing Touch: Buffing for Shine
To restore a shine to your old hardwood floors, buffing is a simple and effective step. You can use a buffing machine, a soft-bristled brush, or a microfiber cloth to gently rub the floor in the direction of the wood grain. This helps polish the floor and remove any remaining residue from cleaning.
10. Protecting Your Investment: The Maintenance Routine
Once your floors are deep cleaned, maintaining their beauty requires consistent effort. Here are some tips for keeping your hardwood floors pristine:
- **Sweep or Vacuum Regularly:** Dust and debris can accumulate quickly, so make it a habit to sweep or vacuum your floors at least once a week.
- **Clean Spills Promptly:** Stains are easier to remove when they are fresh, so clean up spills immediately with a damp cloth.
- **Use Floor Mats:** Place mats at all entrances to your home to trap dirt and debris before it reaches your hardwood floors.
- **Consider a Protective Coating:** For high-traffic areas, consider applying a sealant or wax to protect the finish from scratches and wear and tear.
How To Deep Clean Old Hardwood Floors
Conclusion: Embracing the Timeless Charm
Deep cleaning old hardwood floors is a labor of love, a commitment to preserving a piece of history in your home. It’s about more than just removing dirt; it’s about revealing their inherent beauty and ensuring their longevity for generations to come. By following these steps and embracing regular maintenance, you can transform your floors from ordinary to extraordinary, creating a space that radiates warmth, character, and timeless elegance.


