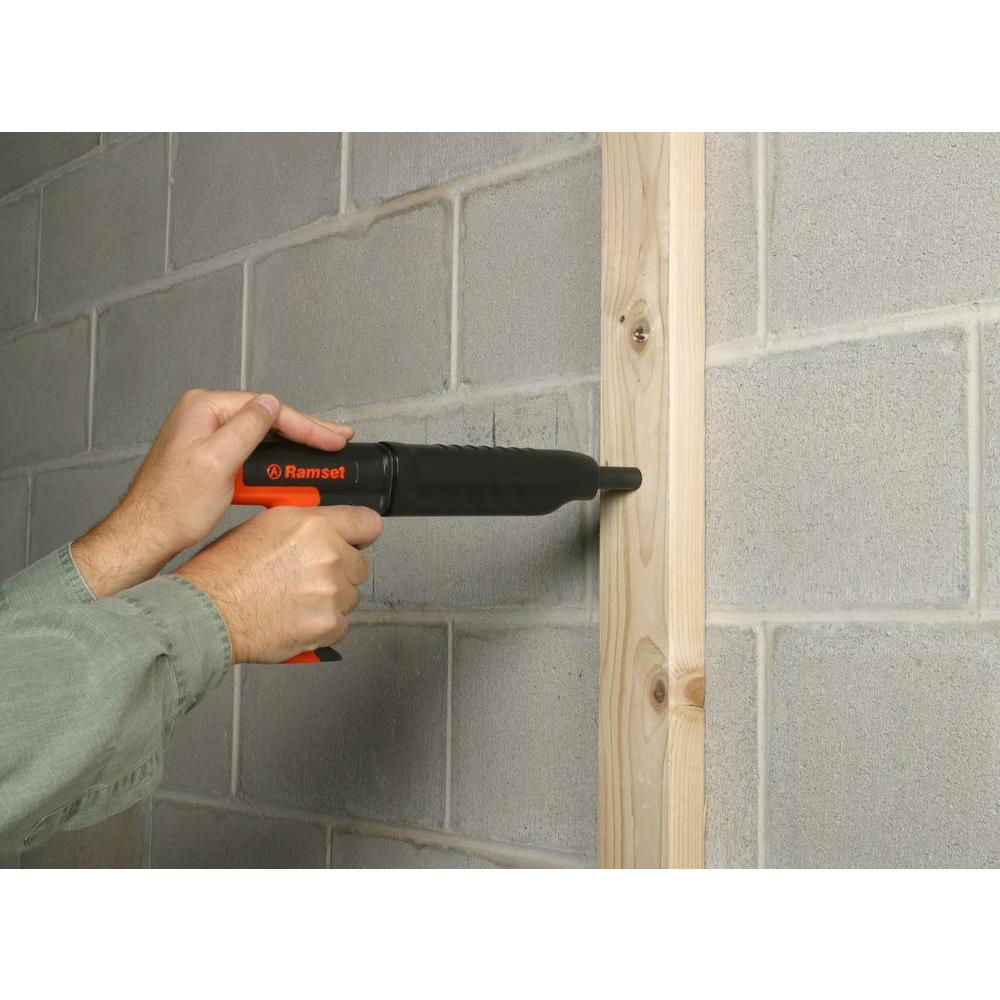
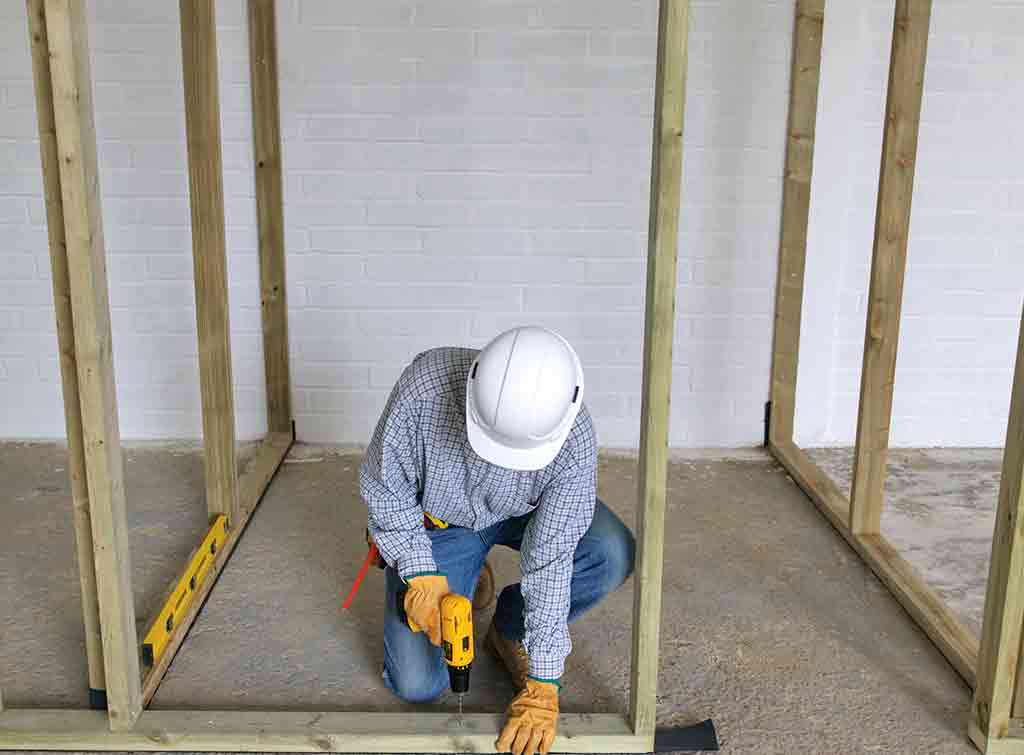
Ever dreamt of transforming your concrete basement into a cozy living space or adding a stunning new room to your home? The first step often involves framing walls, and that means anchoring studs to the concrete floor. But how do you do it when the concrete is solid and unyielding? Fear not, this guide will walk you through the process, equipping you with the knowledge and confidence to tackle this common construction challenge.

Image: carpet.vidalondon.net
Attaching studs to a concrete floor is essential for building strong and stable walls. Whether you’re constructing a partition wall or adding a complete room addition, this step ensures the structural integrity of your project. This technique is widely used for a variety of purposes, from creating closets and dividing spaces to adding insulation and finishing basements.
Choosing the Right Anchor: The Foundation of Success
When it comes to attaching studs to concrete, the anchor you choose is crucial. It’s the invisible hero holding your structure together. Let’s explore the most common options:
1. Concrete Screws: For Light-Duty Applications
Concrete screws, also known as Tapcon screws, are a popular choice for light-duty applications. They feature a self-tapping tip designed to bite into concrete, creating its own thread for a secure hold. Concrete screws are often used for attaching light fixtures, shelves, or even picture frames to concrete walls.
Advantages of Concrete Screws:
- Easy to install with a drill and driver.
- Relatively inexpensive.
- Suitable for lightweight structures.

Image: www.checkatrade.com
Disadvantages of Concrete Screws:
- Limited load-bearing capacity.
- May not be suitable for heavy walls or structures.
2. Expansion Anchors: Versatile and Reliable
Expansion anchors are a step up from concrete screws, offering greater load-bearing capacity. They consist of a threaded metal sleeve with an expandable element, usually made of plastic or metal. The sleeve is inserted into a pre-drilled hole, and when the screw is tightened, the expandable element expands against the walls of the hole, creating a secure anchor.
Advantages of Expansion Anchors:
- Stronger than concrete screws.
- Available in various sizes and materials to suit different applications.
- Suitable for heavier structures.
Disadvantages of Expansion Anchors:
- Require careful installation to avoid damaging the concrete.
- May be more expensive than concrete screws.
3. Sleeve Anchors: Holding Strong for Heavy-Duty Applications
For high-load applications, sleeve anchors, sometimes known as toggle bolts, are the go-to choice. They feature a sleeve with a spring-loaded toggle inside. The sleeve is inserted into a pre-drilled hole, and the toggle opens up inside the cavity, providing a wide surface area for secure anchoring.
Advantages of Sleeve Anchors:
- Exceptional load-bearing capacity.
- Ideal for heavy structures and walls.
- Easy to adjust for different thicknesses of concrete.
Disadvantages of Sleeve Anchors:
- Require a larger hole than other anchors.
- May be more expensive than other options.
4. Chemical Anchors: The Ultimate in Strength
When ultimate strength and reliability are paramount, chemical anchors are the champions. They involve injecting a specialized resin into a pre-drilled hole. The resin cures, forming a solid bond with the concrete, creating a secure anchorage for your stud.
Advantages of Chemical Anchors:
- Highest load-bearing capacity.
- Suitable for critical structural applications.
- Excellent for heavy loads and seismic conditions.
Disadvantages of Chemical Anchors:
- May require specialized tools and skills.
- Curing time for the resin can be lengthy.
- May be the most expensive option.
The Step-by-Step Guide to Attaching Studs to Concrete
Now that you have a solid understanding of the anchoring options, it’s time to delve into the practical steps. This guide focuses on using expansion anchors, which are versatile and widely available.
1. Planning and Preparation: Setting the Stage for Success
Before you dive into the process, plan your layout and gather your tools. This includes:
- Measuring and Marking: Carefully measure and mark the placement of your studs on the concrete floor. Use a level to ensure they’re straight.
- Choosing the Right Anchors: Select expansion anchors specifically designed for the weight and height of your wall. Refer to the manufacturer’s instructions for load recommendations.
- Gathering Your Tools: You’ll need a hammer drill, drill bits suitable for concrete, a tape measure, level, pencil, and your chosen anchors.
2. Drilling the Holes: Creating the Anchorage
Once you’ve marked the locations, use your hammer drill to drill holes into the concrete. The drill bit size should match the diameter of your expansion anchor. Here are key factors to consider:
- Depth: Drill deep enough for the anchor to fully embed itself, but not so deep that the drill bit reaches the other side of the concrete.
- Cleanliness: Remove any dust or debris from the holes using a brush or compressed air to ensure a snug fit for the anchor.
3. Installing the Anchors: Securing the Foundation
With your holes prepped, it’s time to insert the anchors. This involves the following steps:
- Inserting the Sleeve: Gently insert the sleeve of the expansion anchor into the pre-drilled hole.
- Tightening the Screw: Use a screwdriver or drill driver to tighten the screw on the expansion anchor. Be mindful not to overtighten, as this could damage the concrete.
- Testing the Anchor: Once the screw is tightened, give the anchor a gentle tug to ensure it’s secure.
4. Attaching the Studs: Building Your Structure
With your anchors firmly in place, you’re ready to attach the studs. This step is relatively simple:
- Pre-drilling: Pre-drill holes in the studs, aligning them with the anchor locations. This helps to avoid splitting the wood when screwing in.
- Securing the Studs: Using a drill driver, screw the studs directly into the anchors. Ensure that the screws are long enough to provide a secure hold, but avoid overtightening.
5. Leveling and Plumb: Ensuring a Flawless Finish
Once your studs are attached, double-check their level and plumb using a level and plumb bob. This step ensures that your wall is straight and true, contributing to a professional-looking finish.
Beyond the Basics: Advanced Tips for a Successful Project
Now that you’ve mastered the fundamental steps, let’s explore some advanced techniques and considerations to elevate your project:
1. Concrete Prep: Creating a Smooth Surface
For optimal results, a smooth concrete surface is ideal. If your concrete floor is uneven or rough, consider leveling it before proceeding with the installation. This enhances the accuracy of stud placement and improves the overall finish of your project.
2. Choosing the Right Drill Bit: Maximizing Efficiency and Precision
Using a drill bit specifically designed for concrete drilling ensures efficiency and precision. A carbide-tipped bit is recommended as it is durable and less prone to breaking.
3. Using a Hammer Drill: Breaking Through the Concrete
Employing a hammer drill, a tool that combines drilling and hammering actions, is essential for creating holes in concrete. The hammering action helps to break through the dense material, making the drilling process quicker and more efficient.
4. Dust Containment: Staying Clean and Safe
Concrete drilling produces a significant amount of dust. Protect yourself and your surroundings by:
- Wearing a dust mask: Protect your lungs from dust inhalation.
- Using a dust extractor: Connect a dust extractor to your drill to capture dust at the source.
- Covering surfaces: Use plastic sheeting or drop cloths to minimize dust spread.
5. Understanding Load-Bearing Requirements: Safety and Strength
Always consult with a structural engineer or building codes for specific load-bearing requirements based on the size and weight of your wall. This ensures that your finished structure can withstand the intended loads and maintain its structural integrity.
How To Attach Studs To Concrete Floor
Conclusion: Building With Confidence
Attaching studs to a concrete floor is a common but essential task in many construction projects. By carefully choosing the right anchors, following the step-by-step guide, and taking advantage of advanced techniques, you can achieve a secure and robust foundation for your wall. Remember to prioritize safety, plan ahead, and don’t hesitate to seek professional guidance if needed. Now, go forth and build with confidence!


