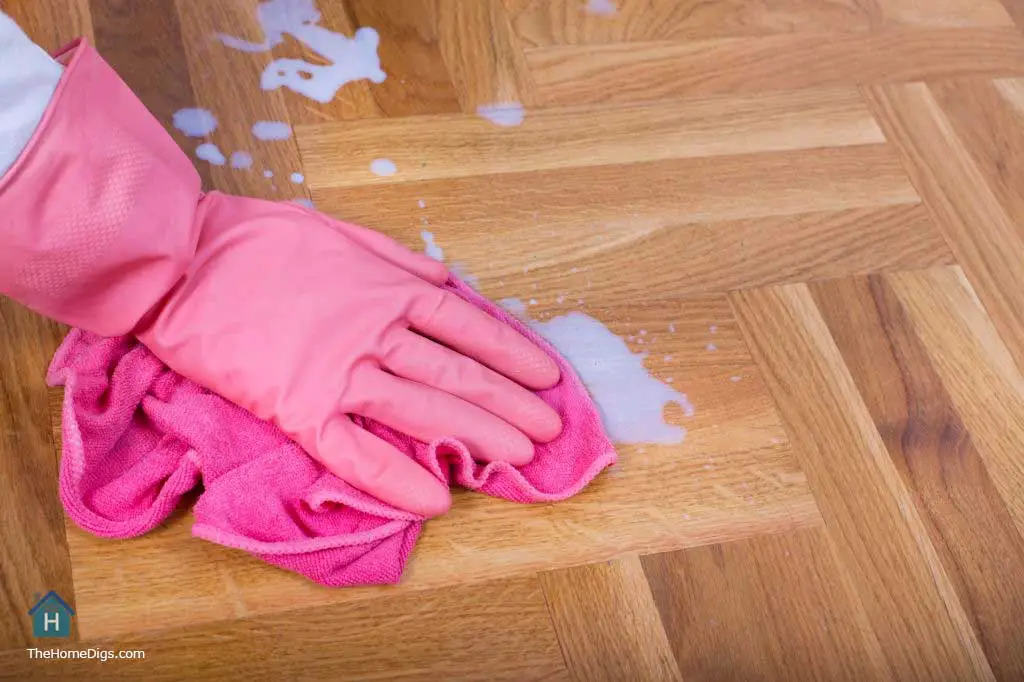
Ever finished waxing your floors, only to find that the surface is still sticky, leaving you with a sense of frustration and a sticky shoe? Or maybe you’re about to embark on your first floor waxing adventure, wondering how long you’ll have to avoid walking on your newly polished floors. The answer, like most things in life, is not a simple one. The drying time for floor wax depends on several factors, each playing a crucial role in the final result.

Image: www.thehomedigs.com
Understanding how long floor wax takes to dry is crucial for achieving a beautiful, long-lasting finish. Whether you’re applying a traditional paste wax, a modern water-based formula, or a high-gloss polyurethane, knowing when your floor is dry enough to walk on, furniture, and more is essential. This comprehensive guide delves into the key factors that influence wax drying time, offering practical tips and ensuring you achieve a perfectly polished, worry-free floor.
Factors Influencing Wax Drying Time
There are numerous variables that can significantly impact how long it takes for floor wax to dry completely. Some of the most important factors include:
1. Type of Wax:
- Paste Wax: These traditional waxes, often made from beeswax or carnauba wax, require a longer drying time, typically 12-24 hours. The thicker consistency and natural ingredients contribute to their slow drying time.
- Liquid Wax: Liquid waxes, more common today, usually dry faster than paste waxes, often within 4-8 hours. The thinner consistency allows for quicker evaporation.
- Water-Based Wax: These waxes, often touted for their eco-friendliness and ease of application, dry surprisingly fast, often within 2-4 hours. Their ability to dry quickly is due to the water content evaporating rapidly.
- Polyurethane: Polyurethane finishes, prized for their high gloss and durability, have a longer drying time, typically 24-48 hours, sometimes even longer depending on the specific product. This extended drying time is necessary for the finish to fully harden and achieve maximum protection.
2. Temperature and Humidity:
The environment plays a significant role in the drying process. Warmer temperatures and lower humidity levels accelerate evaporation, speeding up the drying time. Conversely, cold, humid environments can slow the drying process considerably.
A poorly ventilated basement, for example, might retain moisture, extending the drying time for your floor wax. Conversely, a dry, warm room with good ventilation will allow the wax to dry more quickly.

Image: www.pinterest.com
3. Thickness of Application:
This is a simple concept: the thicker the layer of wax applied, the longer it will take to dry. A thin, even coat will dry much faster than a thick, uneven layer. If you’re aiming for a high gloss finish, multiple thin coats, applied with sufficient drying time between each coat, are recommended.
4. Type of Floor:
Floor materials can also affect drying time. Some materials, like hardwood, absorb less moisture than others, like porous tile. Floors made from porous materials will require more time for the wax to dry, while those made from non-porous materials like hard-glazed tile will generally dry faster.
How to Check for Drying & Ensure Adequate Time
The ideal time to start walking on your newly waxed floors depends on the product you’ve used and the specific drying instructions provided. However, there are some general guidelines you can follow.
1. The Touch Test:
This is a tried-and-true method to determine if the wax is dry enough. Gently touch the waxed surface with your finger. If the wax feels tacky, it’s not dry yet. If it feels dry and smooth, you’re good to go!
2. The Water Test:
For floors covered in polyurethane finishes, a water test is recommended. Carefully drop a few drops of water onto the floor. If the water beads up and remains on the surface for a few minutes, the finish is adequately dry. If the water is absorbed immediately, it’s not completely cured and needs more time.
Tips for Accelerating Wax Drying Time
While you can’t directly control some factors, like the atmospheric conditions, you can take steps to help your floor wax dry faster.
1. Ventilation:
Open windows or use fans to improve airflow in the room where you’ve applied wax. Adequate ventilation allows moisture to evaporate more quickly, resulting in a faster drying time.
2. Avoid Excessive Humidity:
Try to prevent moisture from accumulating in the room after applying wax. If you live in a humid climate, consider using a dehumidifier. It’s also important to avoid activities that generate steam or moisture, like showering or cooking, in the room during the drying time.
3. Use a Hairdryer:
While this might seem unconventional, using a hairdryer can speed up the drying process, especially for small areas. Remember to use a low heat setting and avoid direct contact with the wax as it could melt or burn the finish.
4. Avoid Walking on the Floor:
This might seem obvious, but it’s essential to avoid walking on the freshly waxed floor until it’s completely dry. Walking before it’s properly dry can cause scuffs, marring the finish, and potentially extending the drying time.
How Long Does Wax Take To Dry On Floors
Understanding Drying Time: A Practical Approach
The drying time for floor wax is not a precise science. It’s influenced by a variety of factors, and it’s always better to err on the side of caution and allow more time for drying. Ultimately, patience is key in the world of floor waxing.
Following the instructions provided by the wax manufacturer, using the touch or water test, and practicing patience, you’ll be sure to achieve a beautiful, long-lasting, and worry-free floor finish.
Conclusion:
From the type of wax to the environmental conditions, several factors influence how long it takes for floor wax to dry. By understanding these factors and following best practices for achieving optimal drying, you can ensure a stunning finish, free from sticky messes and lasting for years to come. Remember, a little patience goes a long way in the world of floor waxing.


