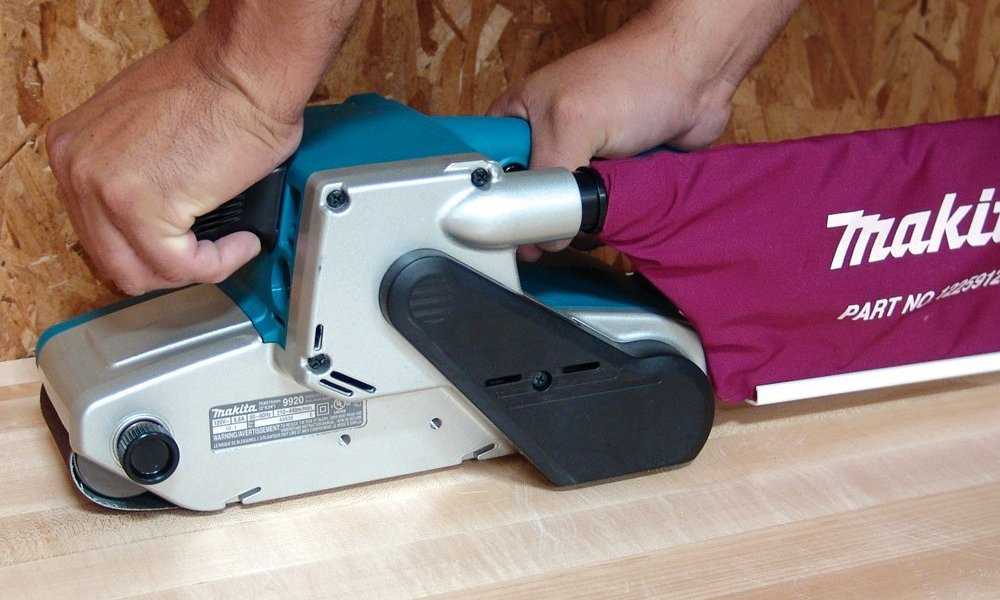
Imagine this: you’re staring down at your worn-out wood floor, dreaming of its potential to shine again. It’s been years of spills, scratches, and foot traffic, leaving it looking tired and dull. You’ve envisioned a beautiful, refinished floor, but a daunting question arises: Can you sand a floor with a belt sander, or is that a task reserved for professionals?

Image: woodworkology.com
The answer, like many things in life, is a nuanced one. While belt sanders can effectively tackle the job, they’re not the magic wand for every floor project. Understanding their strengths and limitations, along with proper safety measures, is key to achieving the polished floor you desire.
The Power of the Belt Sander: Unveiling its Potential
A belt sander, with its robust power and wide sanding belt, is a force to be reckoned with in the woodworking world. Its primary role is to quickly remove large amounts of material, making it ideal for tasks like:
- Stripping Old Finishes: That thick layer of old varnish, paint, or polyurethane can be painstakingly removed by hand. A belt sander, however, tackles the job with ease, stripping down to bare wood, ready for a fresh start.
- Leveling Uneven Surfaces: If your floor boasts dips, bumps, or imperfections, a belt sander can level things out with precision and power. A little patience and skillful maneuvering will leave you with a remarkably smooth surface.
- Creating a Smooth Finish: While a belt sander isn’t used for the final sanding steps, it sets the stage for a smoother finish by removing the bulk of imperfections and achieving a more uniform surface.
Not All Floors Are Created Equal: Understanding Belt Sander Limitations
While the belt sander’s power seems mighty, it’s important to recognize that it’s not a one-size-fits-all tool. Certain types of floors may not be suitable for belt sanding, and even with suitable floors, cautious application is key. Consider these points:
- Softwood Floors: Softwoods like pine and fir are susceptible to scratches and gouges when using a belt sander. Their delicate nature requires gentler sanding techniques, making a belt sander less ideal for achieving a flawless finish.
- Thin Floors: If your floorboards are thin, a belt sander’s aggressive sanding action can wear them down too quickly. This can lead to unevenness and compromise the structural integrity of your floor.
- Finish Sensitivity: Some delicate finishes, like wax or certain types of oil, may not withstand the rough grip of a belt sander. In these cases, hand sanding or using an orbital sander may be more suitable.
Mastering the Art of Belt Sanding: A Journey of Precision and Safety
If you’ve weighed the pros and cons and decided to take on the task of sanding your floor with a belt sander, proper techniques and safety are paramount. Here’s how to approach this challenge with confidence:
- Start with a Test Patch: Don’t dive straight into the main floor area with the sander. Choose a hidden section to test the sander’s impact on your flooring and adjust settings as needed.
- Choose the Right Grit: Start with a coarser grit (around 40) to remove thicker layers of material. As you progress, switch to progressively finer grits (60, 80, 100) for smoother finishes.
- Consistent Motion: Move the sander in a steady, controlled motion, avoiding sudden stops or changes in direction. This helps prevent uneven sanding and reduces the risk of gouges.
- Mind the Edging: Belt sanders are designed for larger areas; they’re not suitable for sanding near walls or tight spaces. Use a hand sander or edging tool for these areas.
- Safeguard Yourself: Safety gear is your best friend when working with power tools. Always wear a dust mask, safety glasses, ear protection, and work gloves.
- Dust Control: Sanding produces a lot of fine dust, which can irritate your respiratory system and create a mess. Use a dust extraction system or cover the working area with plastic sheeting to contain the dust.

Image: benchmarkabrasives.com
Unleashing the Expert Within: Tips for a Flawless Finish
With the basics down, consider these pro tips to elevate your belt sanding game:
- Practice Makes Perfect: The best way to master any skill is through practice. Start with a small project, like sanding a piece of scrap wood, to get a feel for the sander and its movements.
- Patience is Key: Sanding a floor takes time. Don’t rush the process, and be patient as you progress from one grit to the next.
- Check for Flatness: After each sanding pass, use a level or a straightedge to check for flatness. If there are low spots or unevenness, sand them down further.
- Think of Your Final Finish: Decide on your final floor finish (polyurethane, wax, stain, etc.) beforehand to ensure your sanding process is compatible.
Can You Sand A Floor With A Belt Sander
The Rewards of Patience: Unveiling a Stunning Floor
As you meticulously sand your floor, the satisfaction of seeing the transformation unfold is undeniable. The once-tired, worn-out surface is reborn, revealing the beauty of the wood beneath. With careful planning, practice, and a touch of expert guidance, you can achieve a polished floor that is not only aesthetically pleasing but also a source of pride for years to come.
So, embrace your inner DIYer, gather your tools, and take that leap. The journey of sanding your floor with a belt sander might be a little challenging, but the rewards are well worth the effort. And remember, even if you encounter some bumps along the way, your newfound sanding skills will serve you well in countless future projects.


