Imagine stepping into your newly renovated home, admiring the sleek and modern look of your vinyl plank flooring. But before you can fully enjoy the transformation, there’s one crucial step left: the finishing touch.

Image: flooringstype.com
This final step is often overlooked, yet it can make a world of difference in the overall appearance and longevity of your flooring. Whether you’re a seasoned DIY enthusiast or a first-time homeowner, understanding this crucial final step will ensure a flawless result and a long-lasting, beautiful floor.
A Vital Step: Securing Your Investment
Laying down vinyl planks is like building a puzzle. Each piece fits together to create a seamless look, but it’s the final steps that truly seal the deal. This final step is about more than just aesthetics; it’s about safeguarding your investment and ensuring that your flooring looks its best for years to come.
The Final Touches: Leaving No Stone Unturned
Just like finishing the final layer of paint on a masterpiece, the last touches on your vinyl plank floor bring everything together. There are several vital steps to take after laying down the planks:
1. Removing Excess Adhesive: This is a crucial step to ensure a clean and professional look. As you worked your way through the planks, some adhesive might have seeped out. Use a putty knife or a plastic scraper to carefully remove any excess, working from the edge of the plank towards the center to avoid damaging the vinyl.
2. Edging and Transition Strips: Where your vinyl flooring meets another surface, such as tile, carpet, or even your doorway, it’s essential to install edging strips or transition strips. These strips provide a smooth transition between different materials, preventing tripping hazards and adding a polished touch.
3. Baseboards: The Finishing Touch to Your Room: Baseboards add a touch of elegance and complete the look of your flooring. They not only cover any gaps or imperfections along the walls but also protect the walls from scuffs and scratches.
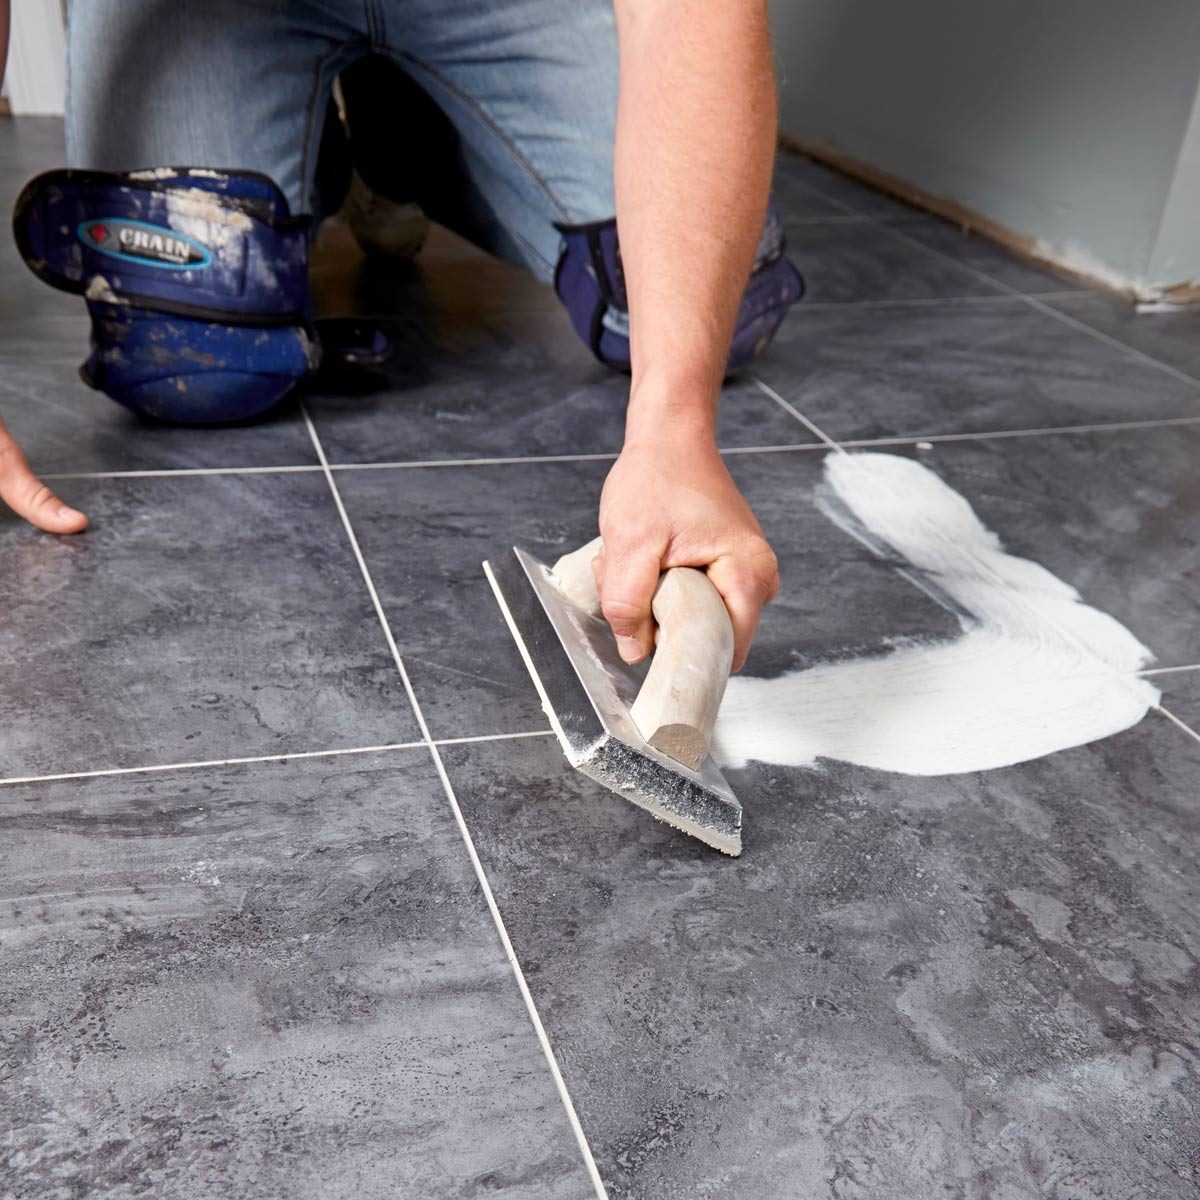
4. Grouting: The Seamless Blend for a Unifying Look: This step is often overlooked but crucial for vinyl planks designed to mimic tile. Grouting fills the gaps between planks, mimicking the look of real tile and creating a seamless and polished look. There are several types of grout specifically designed for vinyl, which come in different colors and finishes to match your floor style.
5. Cleaning: Bringing Your Vision to Life: After installing the planks and all the necessary trim, it’s time to give your floor a thorough clean. This last step is vital to remove any residual adhesive, dust, or debris, leaving your floor pristine and ready for use.
Expert Tips: Ensuring a Seamless Installation
Here are some key tips to consider for the final step of your vinyl plank flooring:
1. Patience is Key: Don’t rush the process. Take the time to clean up after yourself, ensuring every plank is securely in place. This will save you potential headaches later and lead to a stunning outcome.
2. Don’t Skimp on Quality Materials: Investing in high-quality trim, baseboards, and grout will make a huge difference. These elements are integral to the final look of the flooring, so choose wisely.
3. Seek Professional Guidance: If you’re unsure about any aspect of the final step, don’t hesitate to reach out to a professional flooring contractor or a DIY expert. They can offer valuable advice and help you avoid any potential pitfalls.
4. Embrace the Power of a Clean Floor: Cleaning is not just an afterthought; it’s a vital step in creating a beautiful and durable floor. Use a soft broom or vacuum cleaner with a soft brush attachment to avoid scratching the surface.

Image: www.reviewhome.co
What Is The Final Step To Install Vinyl Plank Floor
Conclusion: A Flawless Finish to Your Flooring Project
The final step of your vinyl plank flooring installation may seem like a small detail, but it’s a crucial moment in your journey to create a beautiful and long-lasting space. With careful attention to detail, you can transform your home with stunning and functional flooring that you’ll cherish for years to come.
Ready to take on this final step? Don’t hesitate! Gather all your materials and get ready to bring your flooring project to an impressive conclusion. Remember, your dedication and attention to detail will be worth every minute spent achieving that flawless finish.


