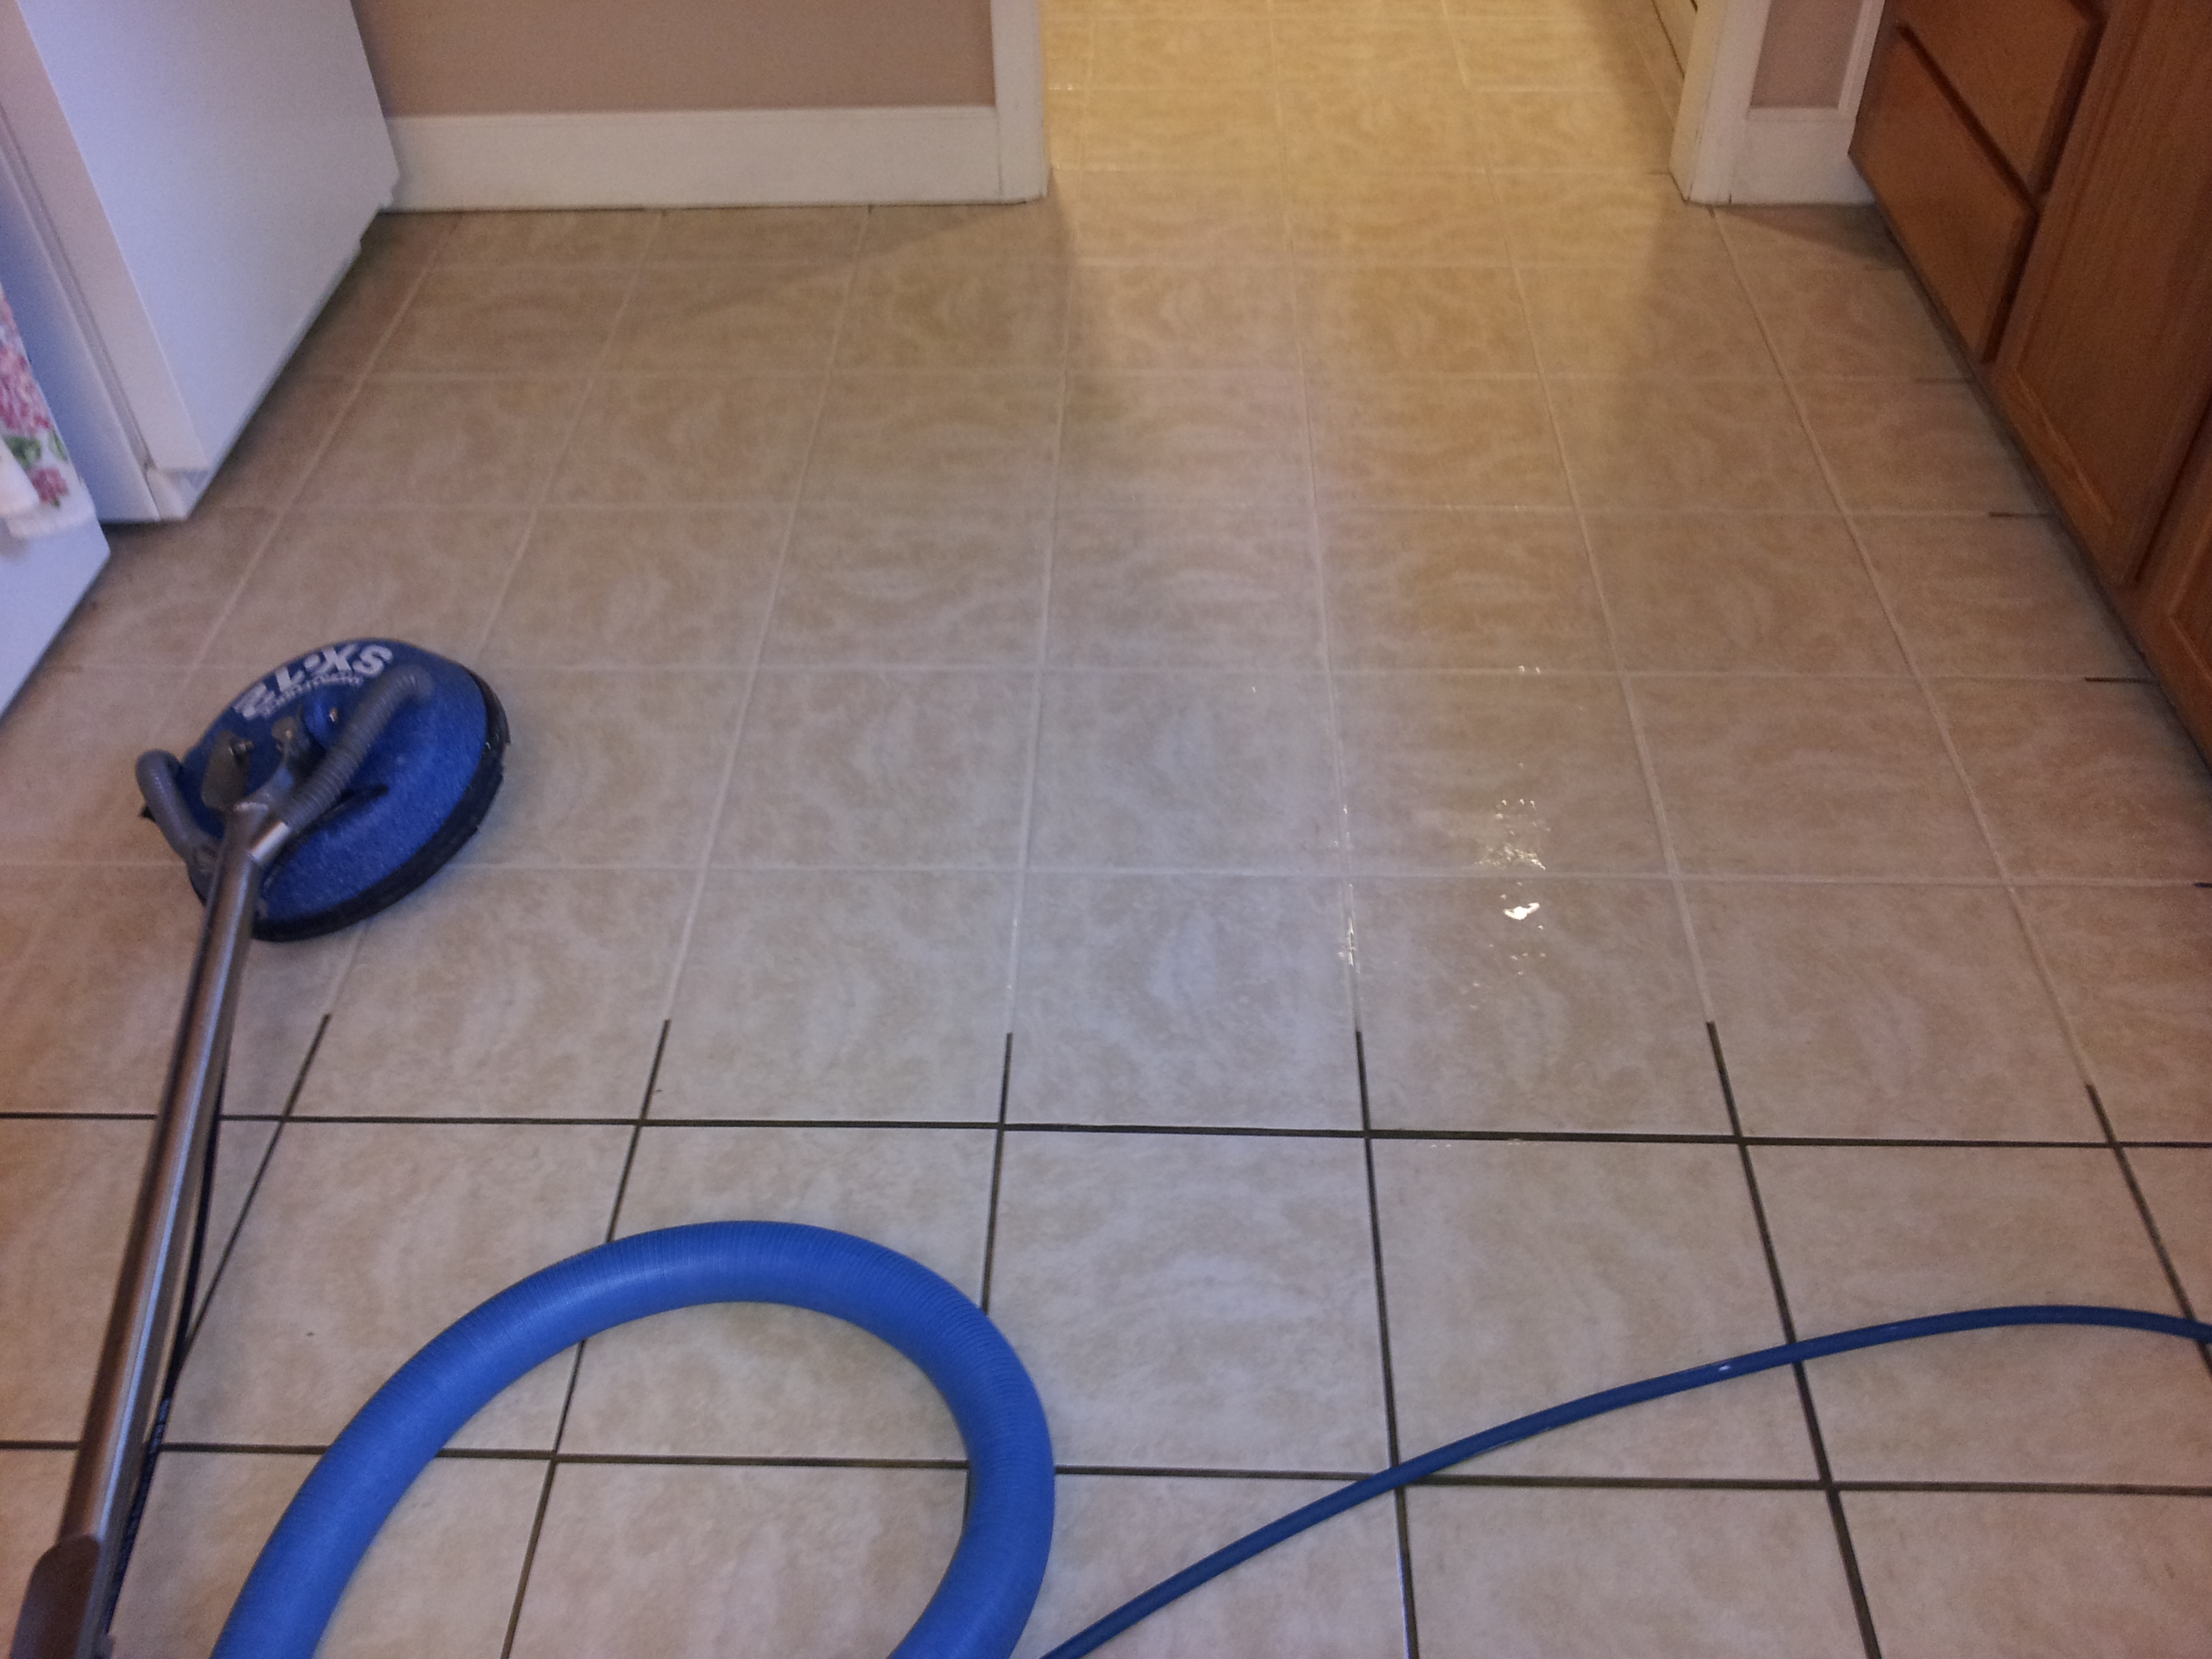
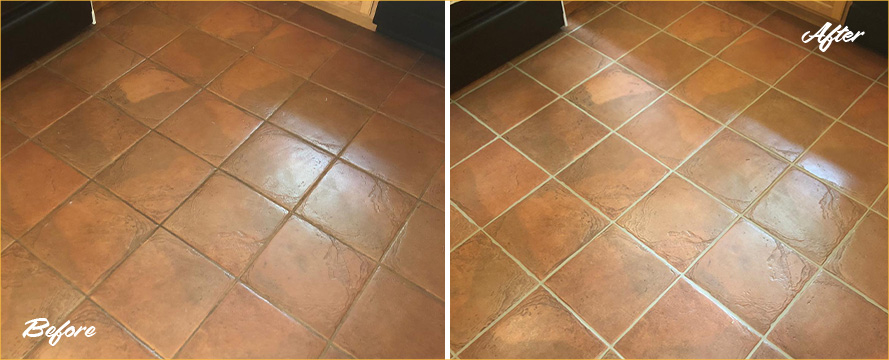
Have you ever looked down at your beautiful tile floor, only to be met with the disheartening sight of discolored, moldy grout? You’re not alone. For many homeowners, the grout between tiles, while necessary for stability, can become a breeding ground for dirt and grime, leaving your otherwise stunning floors looking dull and worn. But fear not! With a little effort and the right guidance, you can easily restore your tile floors to their former glory, transforming them into a shining centerpiece of your home. By learning how to effectively seal the grout on your tile floor, you’re not only protecting your investment, but also ensuring a healthier and more inviting space.

Image: www.wanderglobe.org
Tile floors are known for their durability and beauty, offering a timeless elegance that complements a wide range of design choices. But the grout, that often-overlooked but vital element, is susceptible to the wear and tear of everyday life. It’s exposed to spills, dirt, and even the damaging effects of moisture, all of which can lead to discoloration, staining, and even mold growth. Sealing your grout is the key to safeguarding your investment, preventing these issues and keeping your tile floors looking their best for years to come.
Preparing for Grout Sealing: A Checklist for Success
Before diving into the sealing process, it’s crucial to ensure your tile floor is prepped and ready for its transformation. Here’s a step-by-step checklist to guide you:
1. A Deep Clean: Your initial step is a thorough cleaning of your tile floor, removing any lingering dirt, grime, or debris that could hinder the seal’s effectiveness. Start by sweeping or vacuuming the floor to remove loose particles. Next, use a pH-neutral tile and grout cleaner. Be sure to follow the manufacturer’s instructions carefully.
2. The Power of Patience: Allow the floor to dry completely after cleaning. This is essential for ensuring the sealant adheres correctly and prevents any potential issues.
3. Tackle Stubborn Stains: For persistent stains or mold, consider a grout cleaning solution specifically designed for these tough messes. Apply it according to the product instructions and allow sufficient time for it to work its magic.
4. Grout Refinishing: If your grout has become chipped or damaged, you might want to consider using a grout rejuvenator or a grout pen to restore its appearance. These products help to fill in any imperfections and make the grout look like new again.
Choosing the Right Sealant: A Decision that Matters
Selecting the proper sealant is crucial for achieving the desired results. There are various types available, each with specific benefits and considerations.
1. Water-Based Sealants: These sealants are typically easier to apply and tend to have a lower odor. They are ideal for sealing porous surfaces, providing a protective barrier against moisture and stains.
2. Solvent-Based Sealants: Solvent-based sealants offer superior penetration and durability compared to their water-based counterparts. They are preferred for high-traffic areas and outdoor surfaces, while offering greater resistance to wear and tear. However, they often have a stronger odor and require proper ventilation during application.
3. Epoxy Sealants: Epoxy sealants are known for their exceptional durability and resistance to chemicals. They create a hard, non-porous surface that is particularly suitable for areas subject to heavy wear and tear, such as kitchens and bathrooms.
4. Acrylic Sealants: Acrylic sealants are an affordable option that offers decent protection against moisture and stains. They are a good choice for areas with less traffic and can be easily applied.
5. Teflon Sealants: Teflon-based sealants are known for their stain and water repellant properties. They are an excellent choice for areas prone to spills and messes, helping to keep your floors clean and easy to maintain.
Sealing the Grout: A Step-by-Step Guide
Now that your tile floor is prepped and you’ve chosen the right sealant, it’s time to embark on the sealing process. Follow these simple steps for a flawless finish:
1. Preparation: Ensure proper ventilation by opening any windows or running a fan. This helps to disperse any fumes from the sealant, minimizing the potential for discomfort.
2. Application: Use a grout sealer applicator, such as a brush or sponge, to apply the sealant evenly to the grout lines. Work in small sections to avoid the sealant from drying before you can spread it fully.
3. Even Distribution: Use gentle, sweeping motions along the grout lines, ensuring the sealant is applied thoroughly and evenly.
4. Wipe Away Excess Sealant: Once the grout lines are completely covered, use a clean, dry cloth to wipe away any excess sealant that may have landed on the tiles.
5. Drying Time: Allow ample drying time according to the manufacturer’s instructions. Avoid walking or placing any furniture on the floor during this time.
6. Maintaining Your Investment: To maximize the longevity of your sealant and keep your grout sparkling clean, it’s important to follow a routine cleaning regimen. Regularly sweep or vacuum the floor to remove debris and dirt. Mopping with a pH-neutral cleaner helps to maintain the seal and prevent grime buildup.

Image: dragon-upd.com
Expert Insights and Actionable Tips:
1. Expert Perspective: “Grout sealing is essential for protecting your tile investment,” says renowned tiling expert, Emily Carter. “It creates a barrier that prevents moisture, dirt, and stains from penetrating the grout, keeping your floors looking their best.”
2. Maintenance Made Simple: Emily also recommends using a sealer specifically designed for your tile type and the level of traffic the floor experiences. She stresses the importance of applying the sealant in thin, even coats for optimal protection. “If you’re unsure about which sealant to use, consult with a flooring expert for tailored advice,” she suggests.
How To Seal The Grout On A Tile Floor
Conclusion:
Sealing the grout on your tile floor is a simple but crucial step in protecting your investment and preserving its beauty. With proper preparation, the right sealant, and careful application, you can easily extend the life of your tile floor, ensuring an elegant and inviting space you can enjoy for years to come. Remember, a well-sealed grout is a testament to careful maintenance and a reflection of your home’s timeless charm. So roll up your sleeves, grab your sealant, and get ready to transform your tile floors into an enduring masterpiece!


