Imagine pulling your car into your garage after a long day, only to see a network of cracks snaking across the floor, a constant reminder of wear and tear. These cracks might seem like a small inconvenience, but they can actually be a sign of a bigger problem. They can compromise the structural integrity of your garage floor, leading to further damage, uneven surfaces, and even safety hazards. But don’t worry, those cracks don’t have to be a constant source of stress! This comprehensive guide will walk you through the process of fixing cracks in your garage floor, turning your once-troubled space into a sturdy and safe haven for your vehicles and belongings.

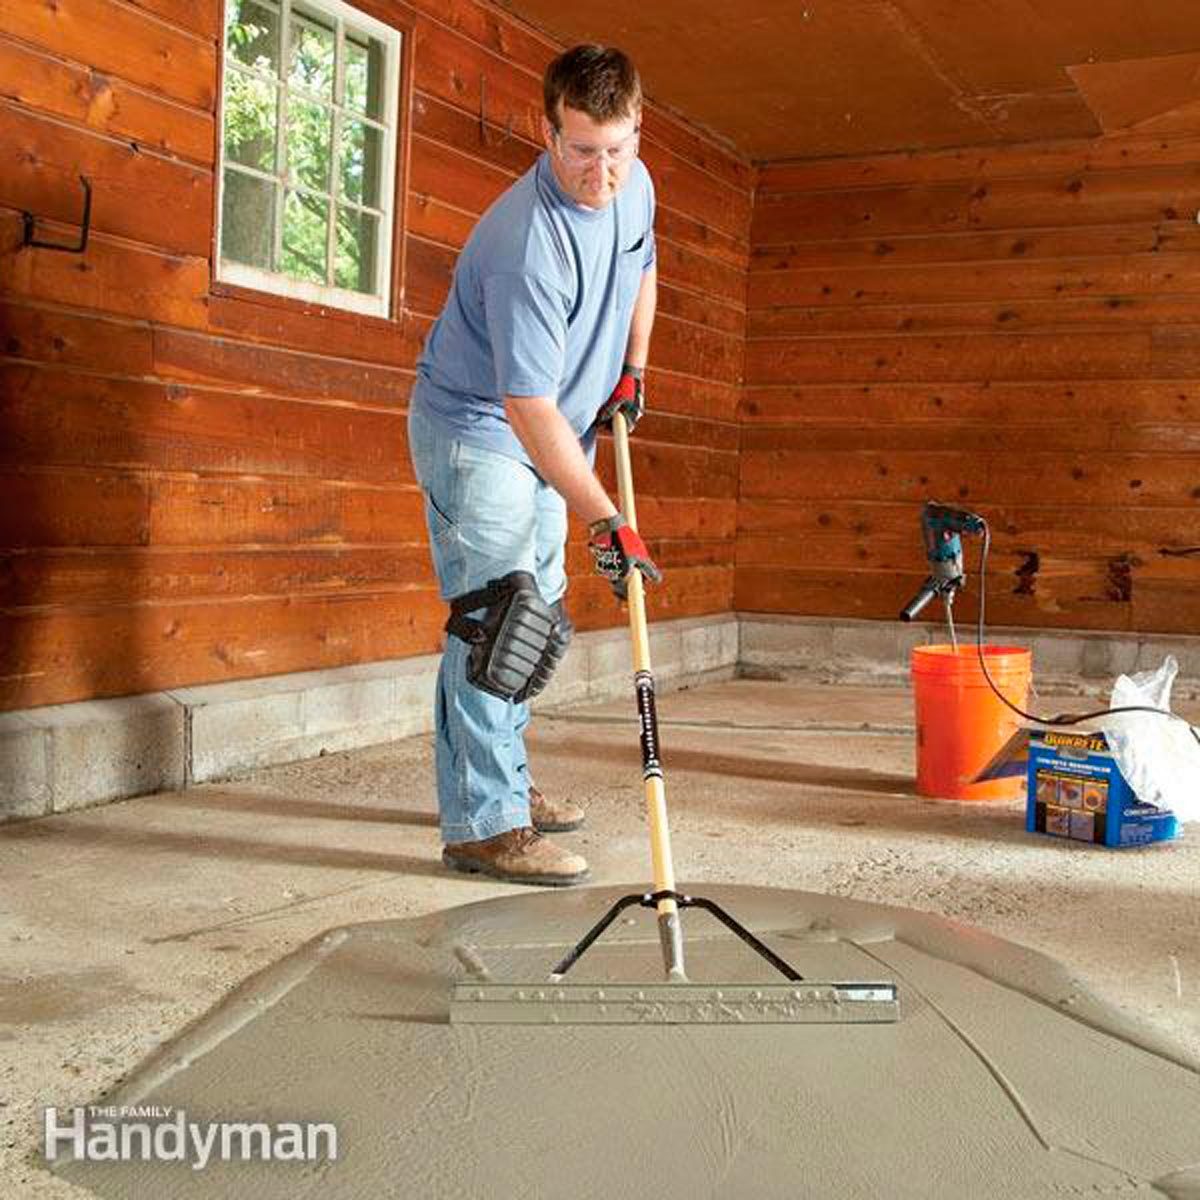
Image: www.familyhandyman.com
Cracks in your garage floor are a common occurrence. They can be caused by a variety of factors, including fluctuating temperatures, heavy traffic, settling soil, and even the natural aging process of concrete. Cracks might seem like just a cosmetic issue, but they can actually be a sign of a more significant problem. Those small hairline fractures can let in moisture, leading to deterioration and even structural instability. This guide will equip you with the knowledge and techniques to confidently tackle those cracks, ensuring your garage floor stays strong and your peace of mind remains intact.
Understanding the Cracks
Before you grab your tools and jump into repairs, it’s important to understand the nature of the cracks. Not all cracks are created equal, and their appearance can provide valuable clues about their cause and the appropriate repair method.
- Hairline Cracks: These are the most common type of cracks and are generally less than 1/8 inch wide. They often appear as a result of temperature fluctuations, settling soil, or a combination of factors.
- Larger Cracks: These cracks are wider than 1/8 inch and can indicate more serious structural issues. They may be caused by heavy loads, foundation movement, or even improper construction techniques.
- Cracks with Movement: If a crack has a noticeable gap that opens and closes, it suggests active movement in the concrete. This usually means that the underlying soil is shifting, and you’ll need to address the root cause before attempting any repairs.
Preparing for Repair
Just like any good construction project, preparation is key. Before you start patching, cleaning, and filling those cracks, ensure you have the right tools and a well-planned approach. This will save you time and frustration in the long run.
- Gather Your Supplies: You’ll need a few essential supplies, including a concrete patching compound or epoxy, a trowel or putty knife, a broom, a stiff-bristled brush, a shop vacuum, safety glasses, and work gloves.
- Clear the Area: Remove all items from the garage to ensure you have ample space to work.
- Clean the Cracks: Use a broom and stiff-bristled brush to thoroughly clean the cracks, removing dirt, debris, and loose material. A shop vacuum can help remove any remaining dust particles.
- Prepare the Cracks: For deeper cracks, you may need to widen them slightly with a chisel to help the patching compound penetrate and adhere properly.
Repairing the Cracks
With the prep work complete, you’re ready to start filling those cracks. Choose the right repair method based on the type and severity of the cracks, and follow these steps for successful repairs:
- Using a Concrete Patching Compound: This method is suitable for hairline cracks and small to moderately sized cracks. Follow the instructions on the product packaging for mixing and application. Use a trowel or putty knife to apply the patching compound, ensuring it’s smoothed flush with the surrounding concrete.
- Repairing Larger Cracks: For larger cracks, consider using a two-part epoxy resin. Follow the manufacturer’s instructions carefully for mixing, application, and curing time.
- Addressing Active Cracks: If your cracks are actively moving, you’ll need to address the underlying cause before patching them. Consult a qualified concrete contractor to diagnose the issue and recommend a solution.

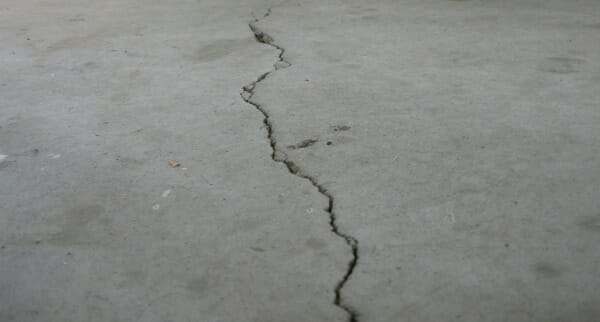
Image: clsa.us
Finishing Touches
After the patching compound or epoxy has dried (check the manufacturer’s recommended curing time), your garage floor will need a few finishing touches to ensure a smooth and durable surface.
- Smooth Out the Patches: Gently smooth out any rough edges or imperfections with a trowel or sandpaper.
- Clean Up: Remove any excess patching compound or epoxy residue.
- Sealing the Floor: Apply a sealant specifically designed for concrete floors. This will help protect the repaired areas from moisture, staining, and wear.
- Optional: Painting the Floor: If you’re looking for a fresh look, consider painting the floor. Use a concrete paint specifically designed for garage floors.
Preventing Future Cracks
You’ve put in the effort to fix existing cracks, but how do you proactively protect your garage floor from future damage? Implementing these measures can help prevent new cracks from forming:
- Maintain a Controlled Temperature: Fluctuations in temperature can put stress on concrete, leading to cracking. Installing insulation in your garage can help buffer temperature swings.
- Use Moisture Barrier: A moisture barrier beneath your concrete floor can help prevent moisture from seeping in and weakening the concrete.
- Regular Maintenance: Regularly sweeping and cleaning your garage floor can help remove dirt, debris, and oil spills that can cause damage.
Professional Assistance
While many homeowners can successfully repair simple cracks in their garage floors, there are situations where professional help is recommended.
- Major Cracks: Deep, wide, or actively moving cracks usually require the expertise of a concrete contractor.
- Foundation Issues: If the cracks are a result of foundation problems, a structural engineer should be consulted for proper assessment and reinforcement.
How To Fix Cracks In Garage Floor
Final Thoughts
Cracks in your garage floor can be a source of frustration, but by taking a proactive approach to understanding, repairing, and preventing them, you can ensure your garage remains a safe and reliable space. Remember, the key is to approach the repairs with a well-planned strategy, proper tools, and the right materials. And if the cracks seem beyond your DIY capabilities, don’t hesitate to seek professional assistance.
Now, go forth and transform your garage from cracked and tired to strong and renewed. Let your garage be a testament to your skills and a source of pride, a space that’s ready for any task, adventure, or project you throw its way.


